Adding personas and research insights to Journey Map
You can integrate journey maps with other UserBit tools — like Personas and Research Repository Insights to add real user context.
Persona integration
Personas help you understand who is moving through the journey. You can attach personas directly to a journey map and even compare multiple user types within the same map.
Steps to add a persona to the journey map
- To add a persona, click the select persona button in the top-left corner of the journey map.
-
A dialog box appears showing all existing active personas in your workspace.
-
Select one or more personas and then click on the save button to add them to the journey map.
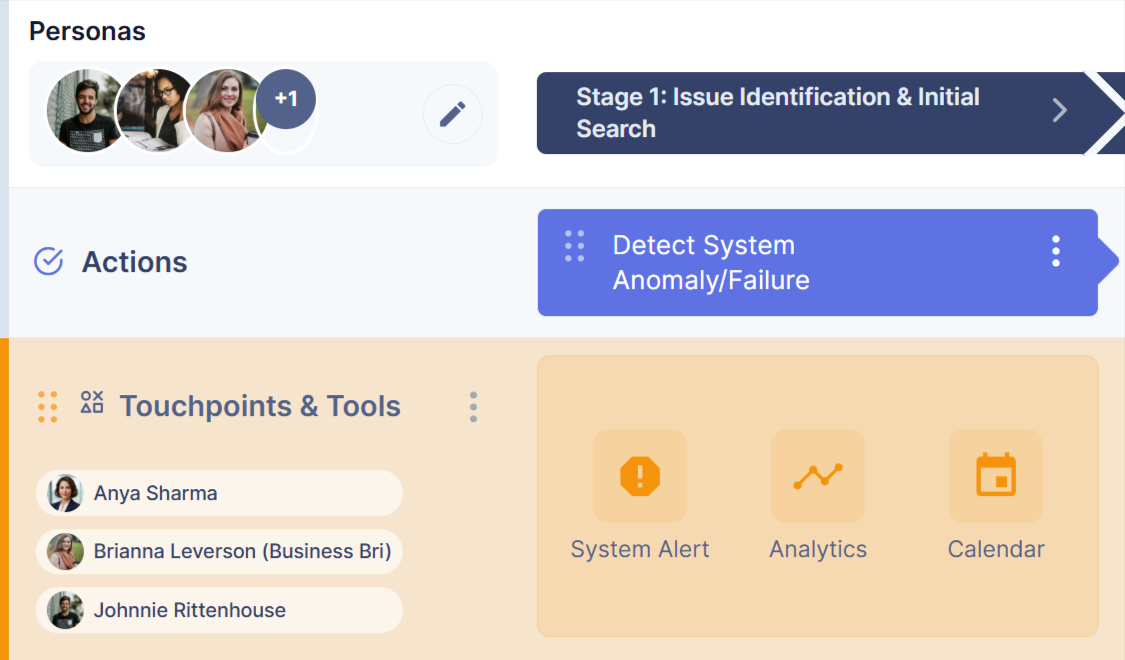
- Once saved, you can see all the added personas in the journey map.
- You can also deselect a persona from the same dialog box to remove it from the journey map. This allows you to update the map as your focus or user scope changes.
Assign personas to specific lanes
You can assign personas to individual lanes to represent how specific users experience that part of the journey.
Steps to assign a persona to specific lanes
- Click the vertical three-dot (⋮) icon on the lane where you want to assign a persona.

- From the dropdown menu, select Assign persona.
- A dialog box will appear showing the personas already added to the journey map.

-
Select the personas you want to assign to that lane and click save.
-
Once saved, all the selected personas get assigned to that specific lane.
Assigning personas to lanes helps you clearly map different user experiences and compare how each persona moves through the journey.
Insight integration
Insights connect your journey map to real research evidence. Journey maps include a dedicated Insight lane where you can add findings directly from your Research Repository.
Steps to add insights to a journey map
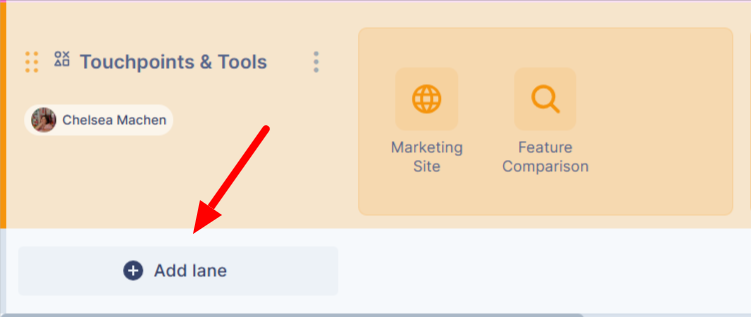
- Click on the add lane button in the journey map
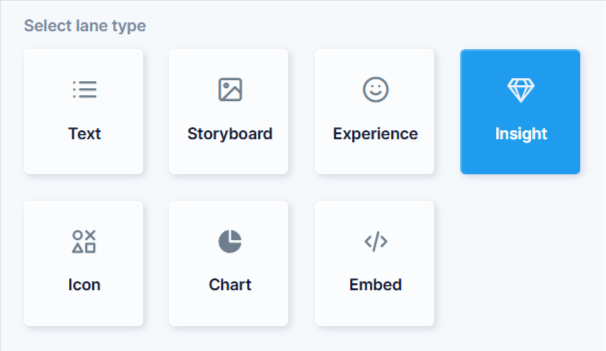
- Select the Insight lane from all lane types for your journey map
- After the insight lane is added, select insights from your research repository and click the select insight button.
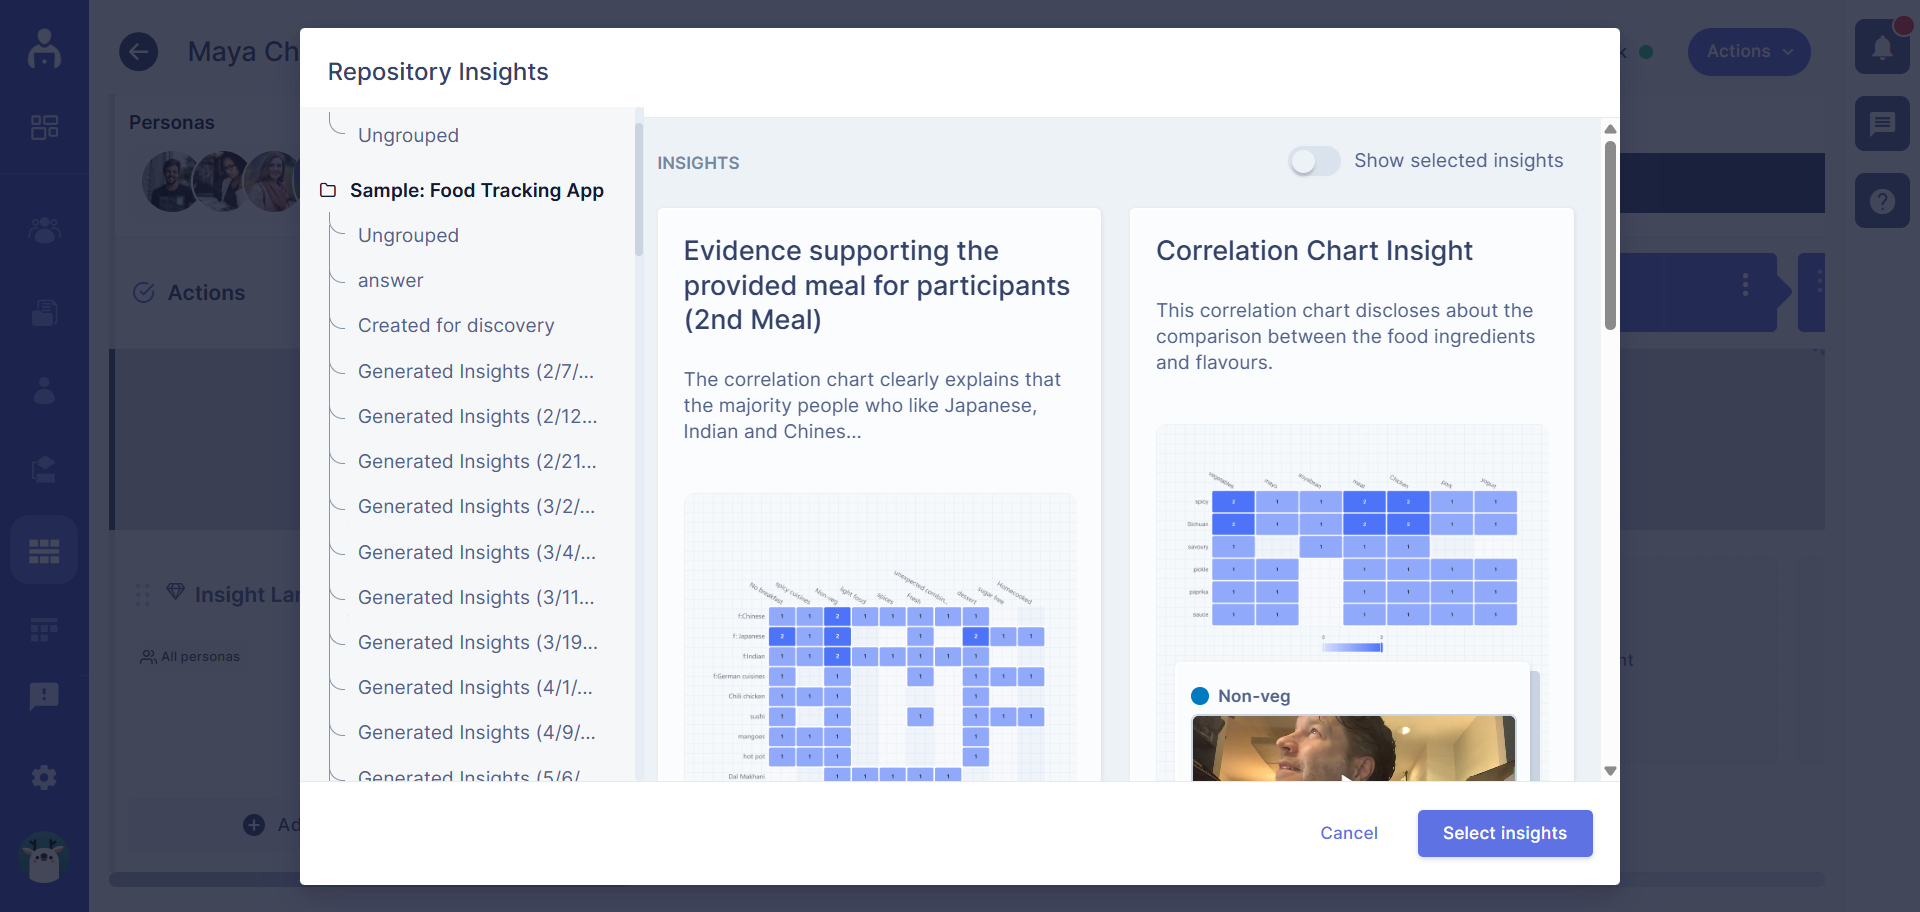
- Place them into the relevant journey steps
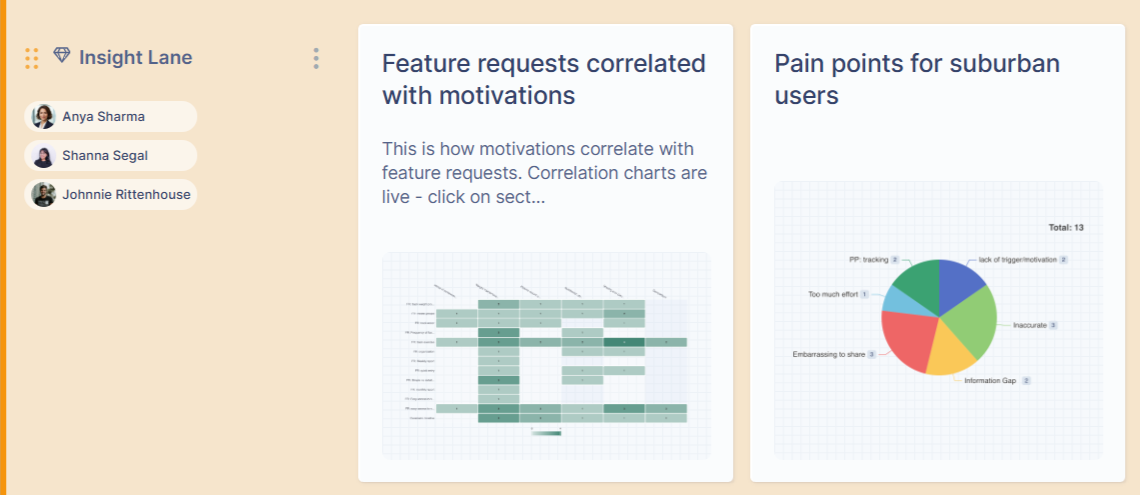
Once added, insights appear alongside the journey stages they relate to.
Why use insight integration?
By connecting insights directly to the journey, you can:
-
Link key findings to specific touchpoints
-
See evidence and research notes in context
-
Keep product and UX decisions grounded in what users actually say and do
Instead of jumping between tools, teams can review journeys and research in one place — making collaboration faster and decisions clearer.