Manage user interviews
The interview module on UserBit provides you with all the tools you need to:
- Organize and store your structured user research interviews
- Analyze the responses to find insights
In this article, we'll go over these features to understand how to manage interviews on UserBit.
Creating Interviews
When you click on Add > Interview from the top right corner of the interview module, you will see the interview wizard. The wizard will then guide you through the process in 3 steps.
Step 1 - Select or create interview participant
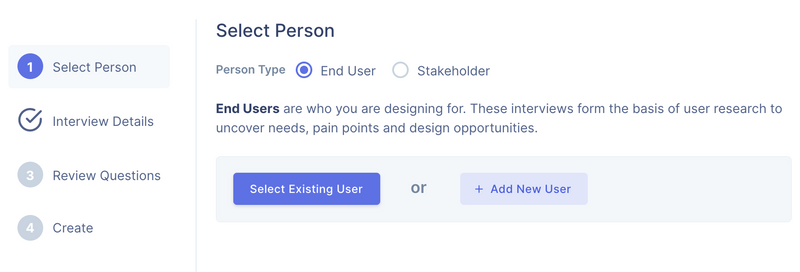
Here, you can either select an existing candidate from your People List, or add a new participant for the interview. New participants created here will also end up in your people section.
Step 2 - Provide interview information
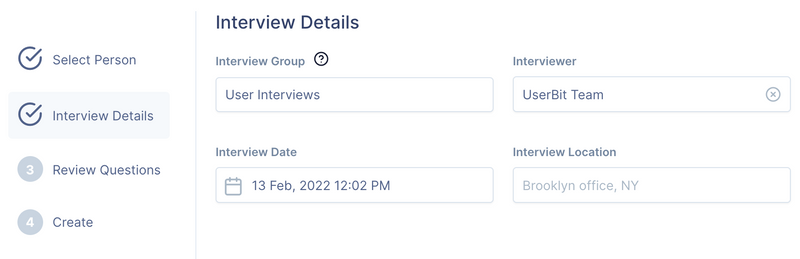
In the second step, you can add relevant interview information like interview group, date, venue, interviewer.
Step 3 - Select or create questions

Here you can select or create the questions you intend to ask for the interview. We recommend that the questions be more of a talking point rather than very specific questions. Removing or adding questions here, does not effect existing interviews, so you can change question for each interview if you wanted to.
You will also be able to manage questions after creating the interview, so don't worry too much about it. Learn more about managing interview questions here.
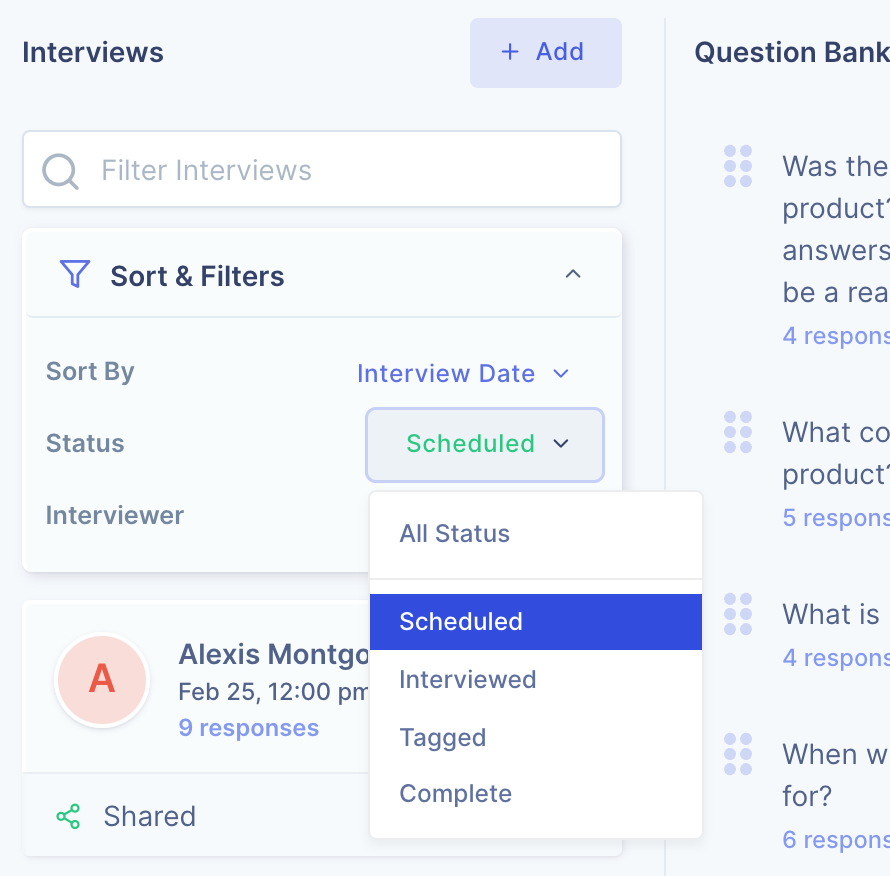
Interview Timeline
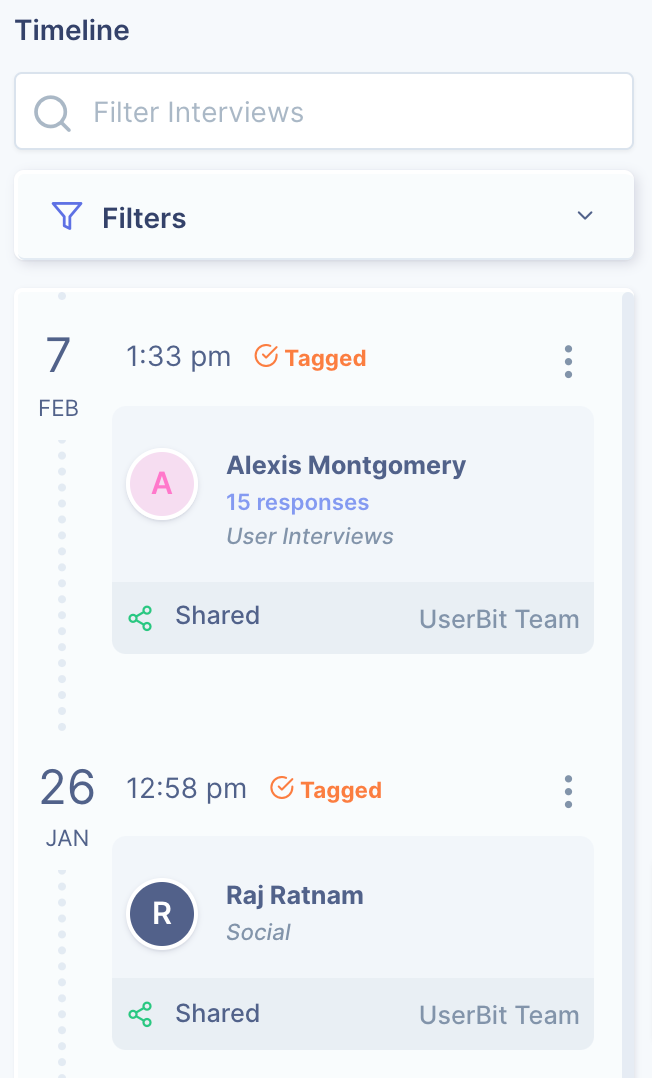
The timeline on the left hand side of the interview module, shows you which interviews are scheduled and which are coming up. You can also filter the timeline by status, interviewer or name.
Recording Responses
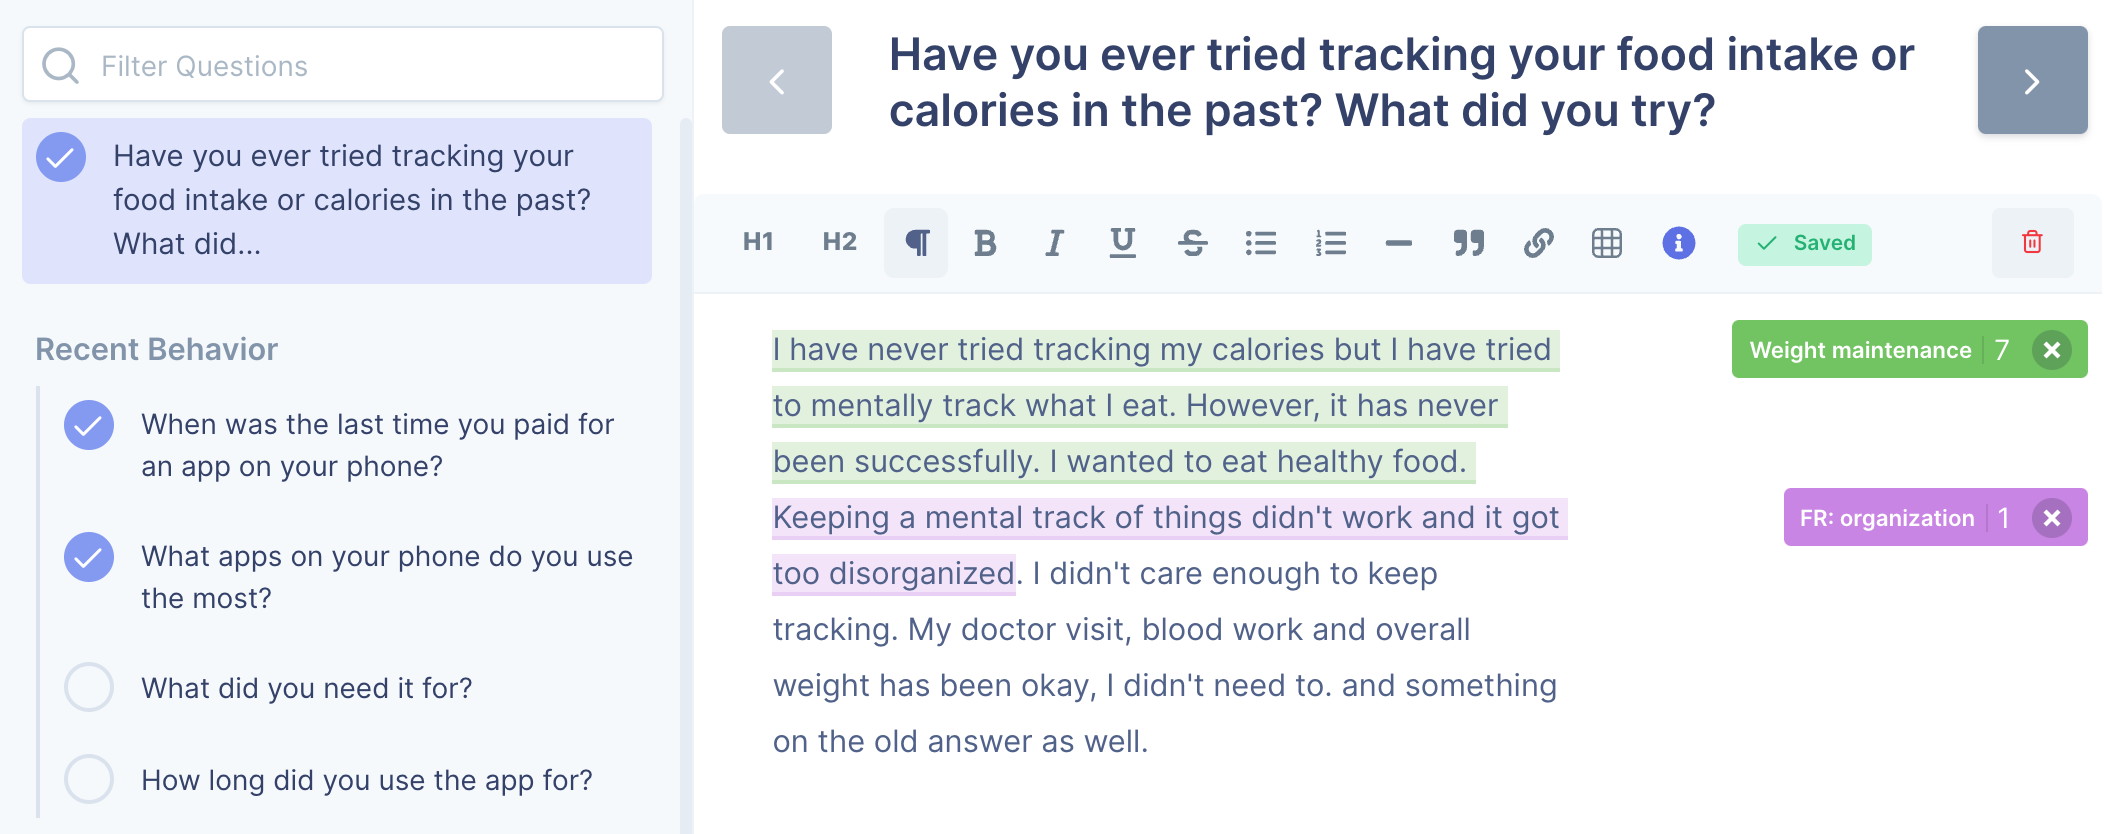
When you click on an interview, you get to the note-taking mode. This mode has been designed to be used specifically during interviews. Here, you can see the relevant questions on the left and can take notes regarding the responses on the right.
You can cycle through questions by clicking directly on them on the right, or by using the next/prev buttons right about the editor.
The response editor allows you to work collaboratively with your teammates.
Assigning Status
As you work through your interviews, you can also update an interview's status to reflect your workflow's progress.

On UserBit, you can assign one of the following status to an interview based on what part of the workflow you're on - Scheduled => Interviewed => Tagged => Complete.
These are helpful when you need to quickly filter the interviews by a given status: