Managing workspaces on UserBit
Creating workspaces
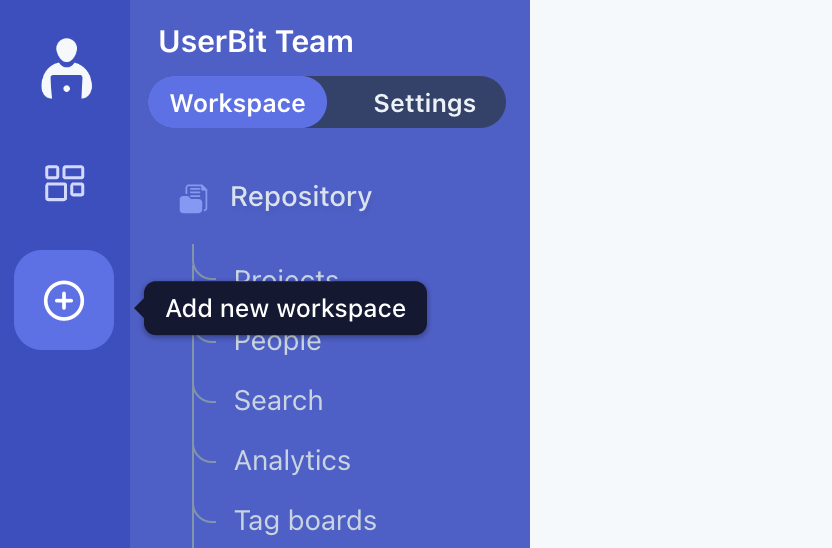
When you first sign up for UserBit, a default workspace is created for you. But you can add new client workspaces at any time. To add a new workspace, click on the Add new workspace button on the left navigation bar.
This will bring up the form to create a new workspace where you can:
- customize the branding
- configure the workspace capacity
- select or add the payment method to be used
for your new workspace.
Configuring your workspace
UserBit allows you to configure each workspace based on your needs. This includes enabling or disabling specific products so you only use the tools relevant to your workflow.
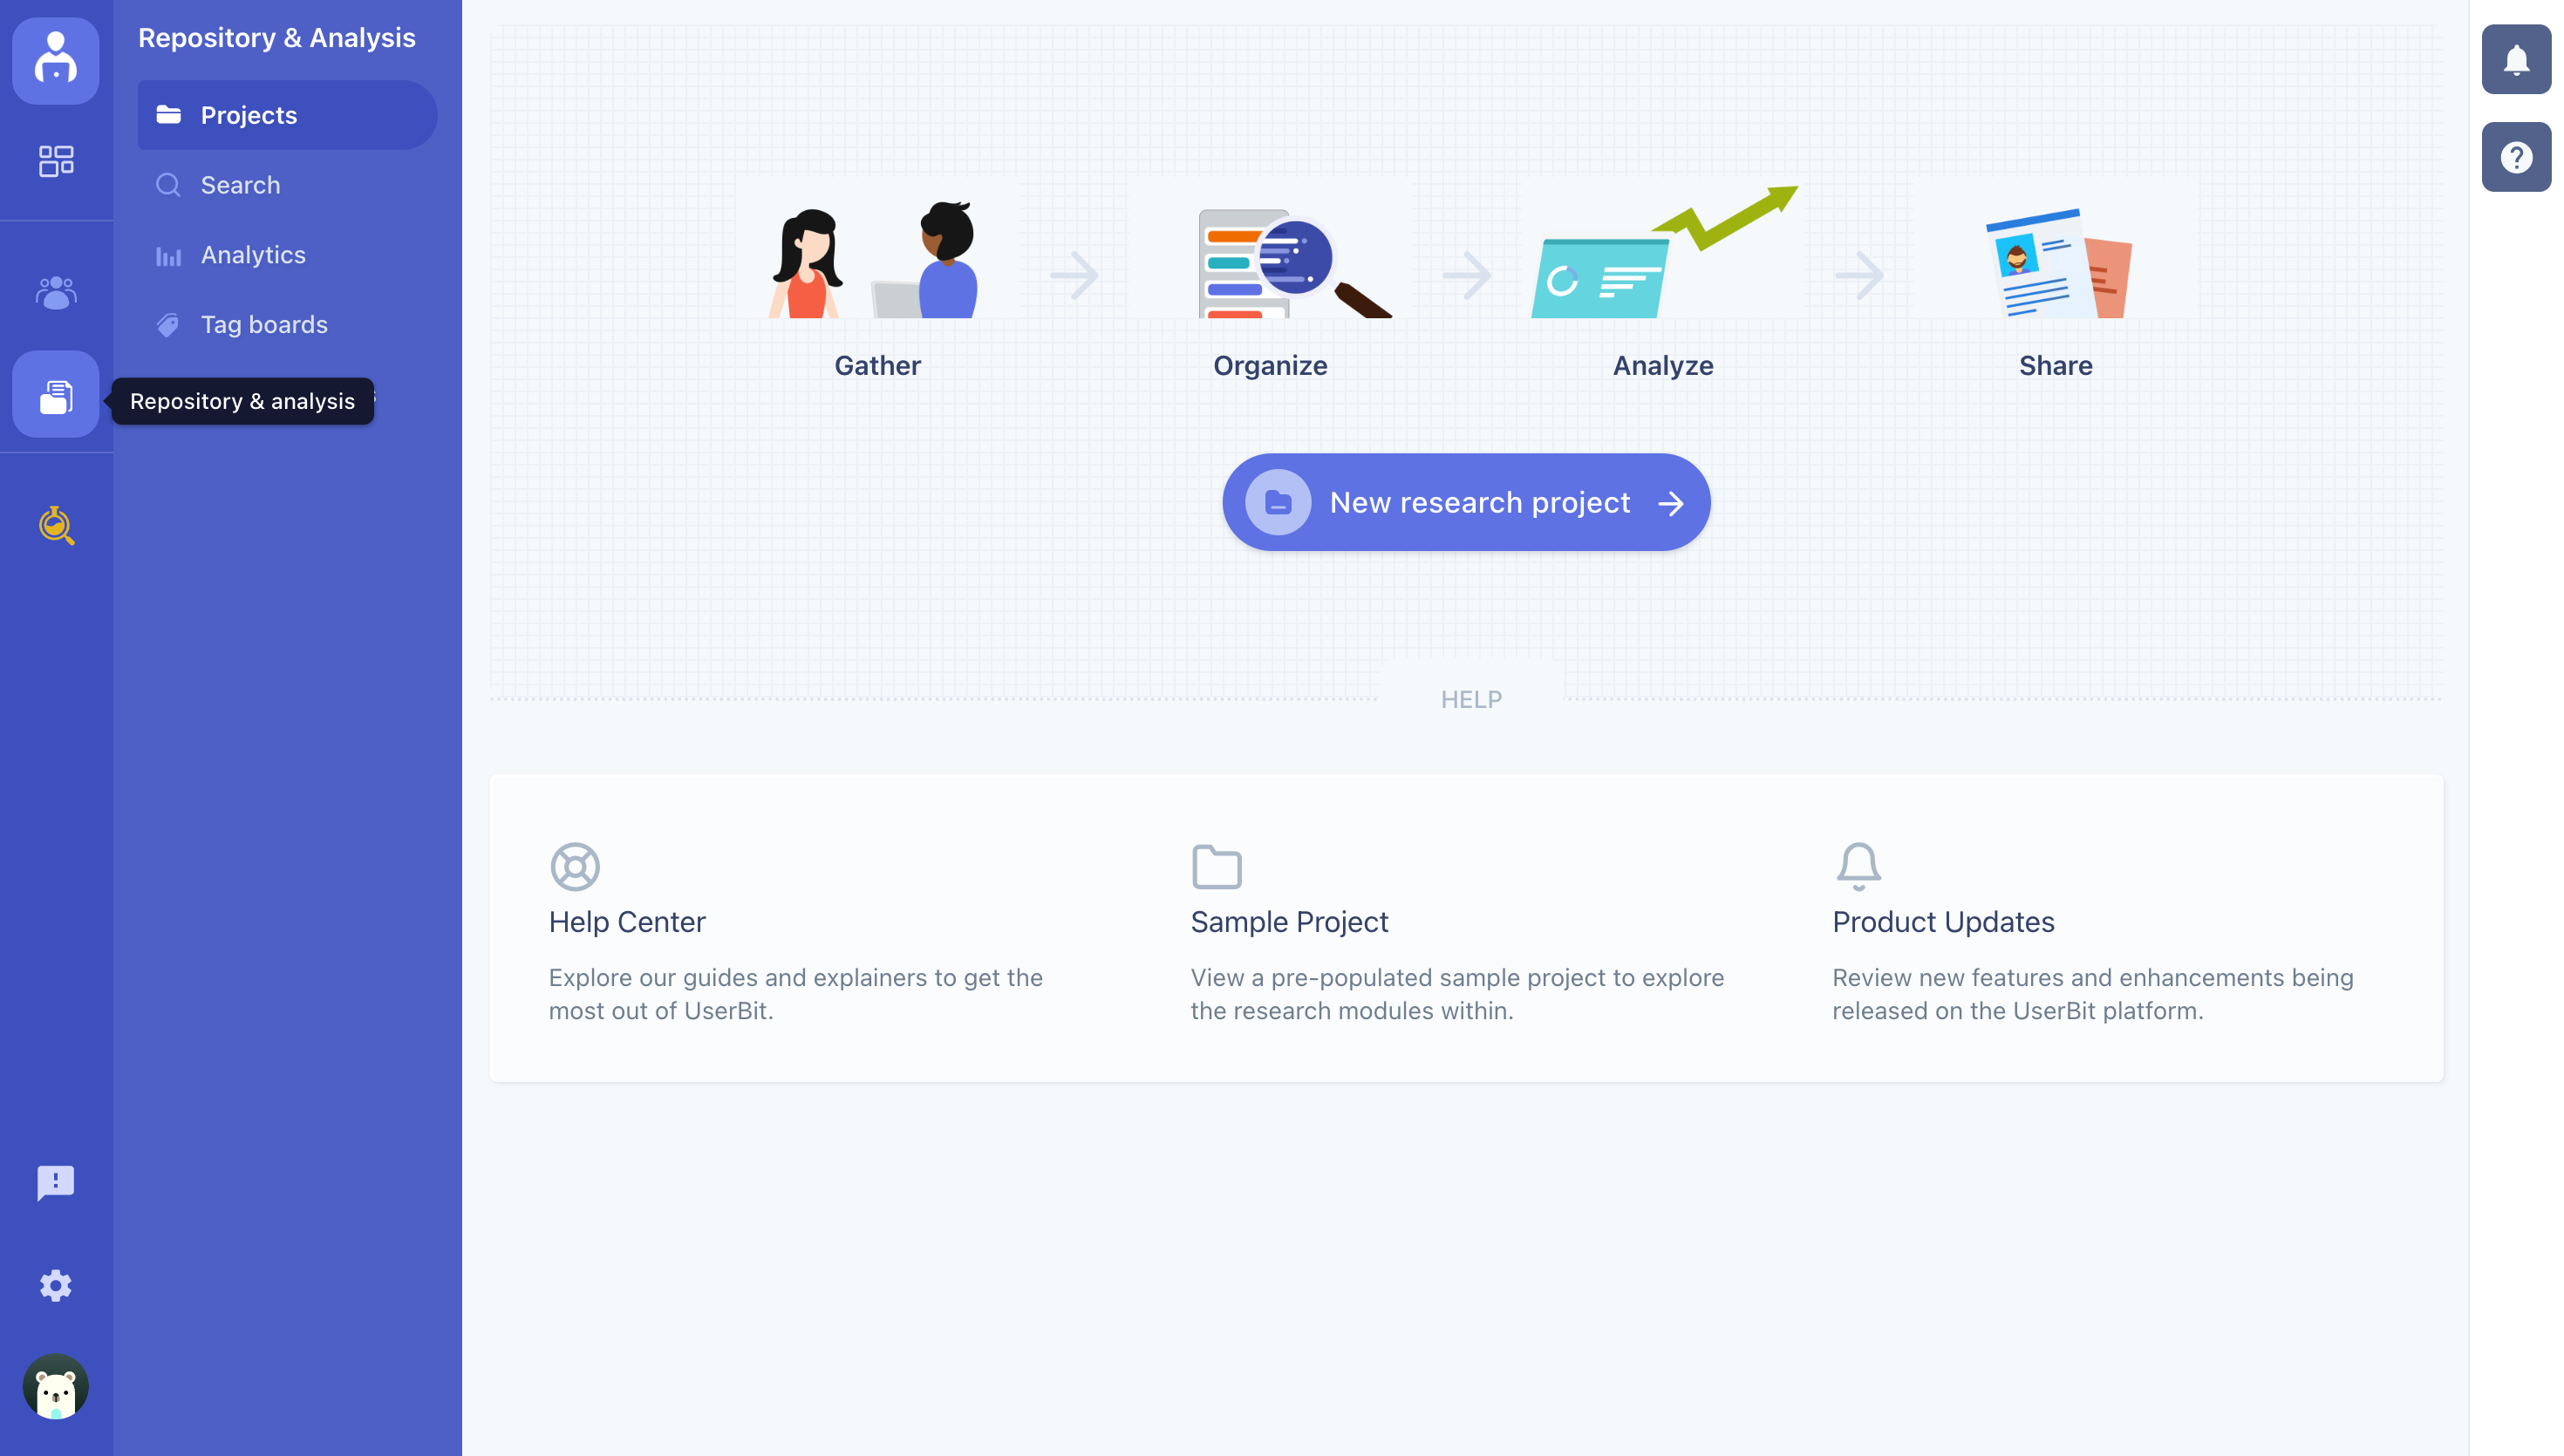
Products such as Repository & Analysis, Card Sorts, Personas, Journey Maps, and Flow Diagrams can all be managed independently inside each workspace.
This gives you complete flexibility to customize your workspace experience depending on your team, client, or workflow requirements.
To configure your workspace, click on the Settings button in the left navigation bar.
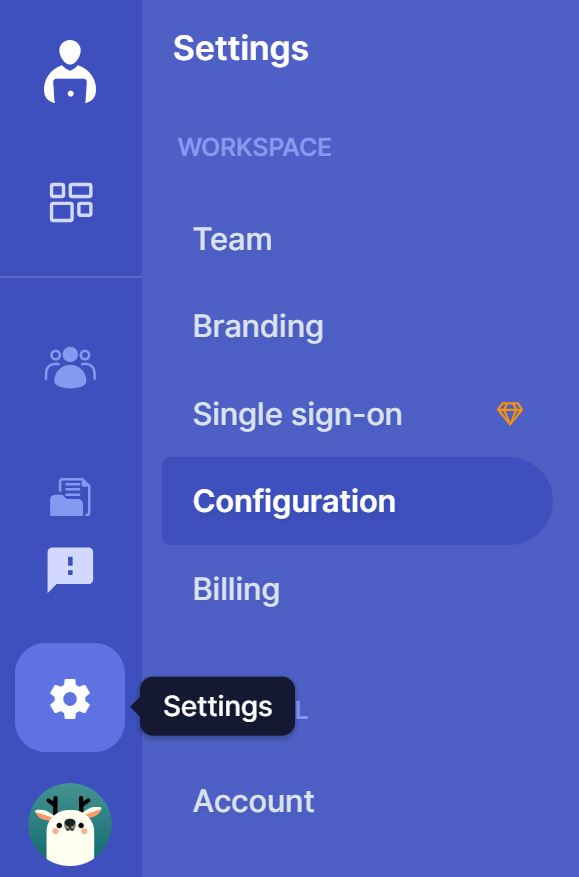
This will take you to the workspace settings page where you can see all available products.
Use the toggle next to each product to enable or disable it as needed. For example Repository & Analysis as you can see in the image below.
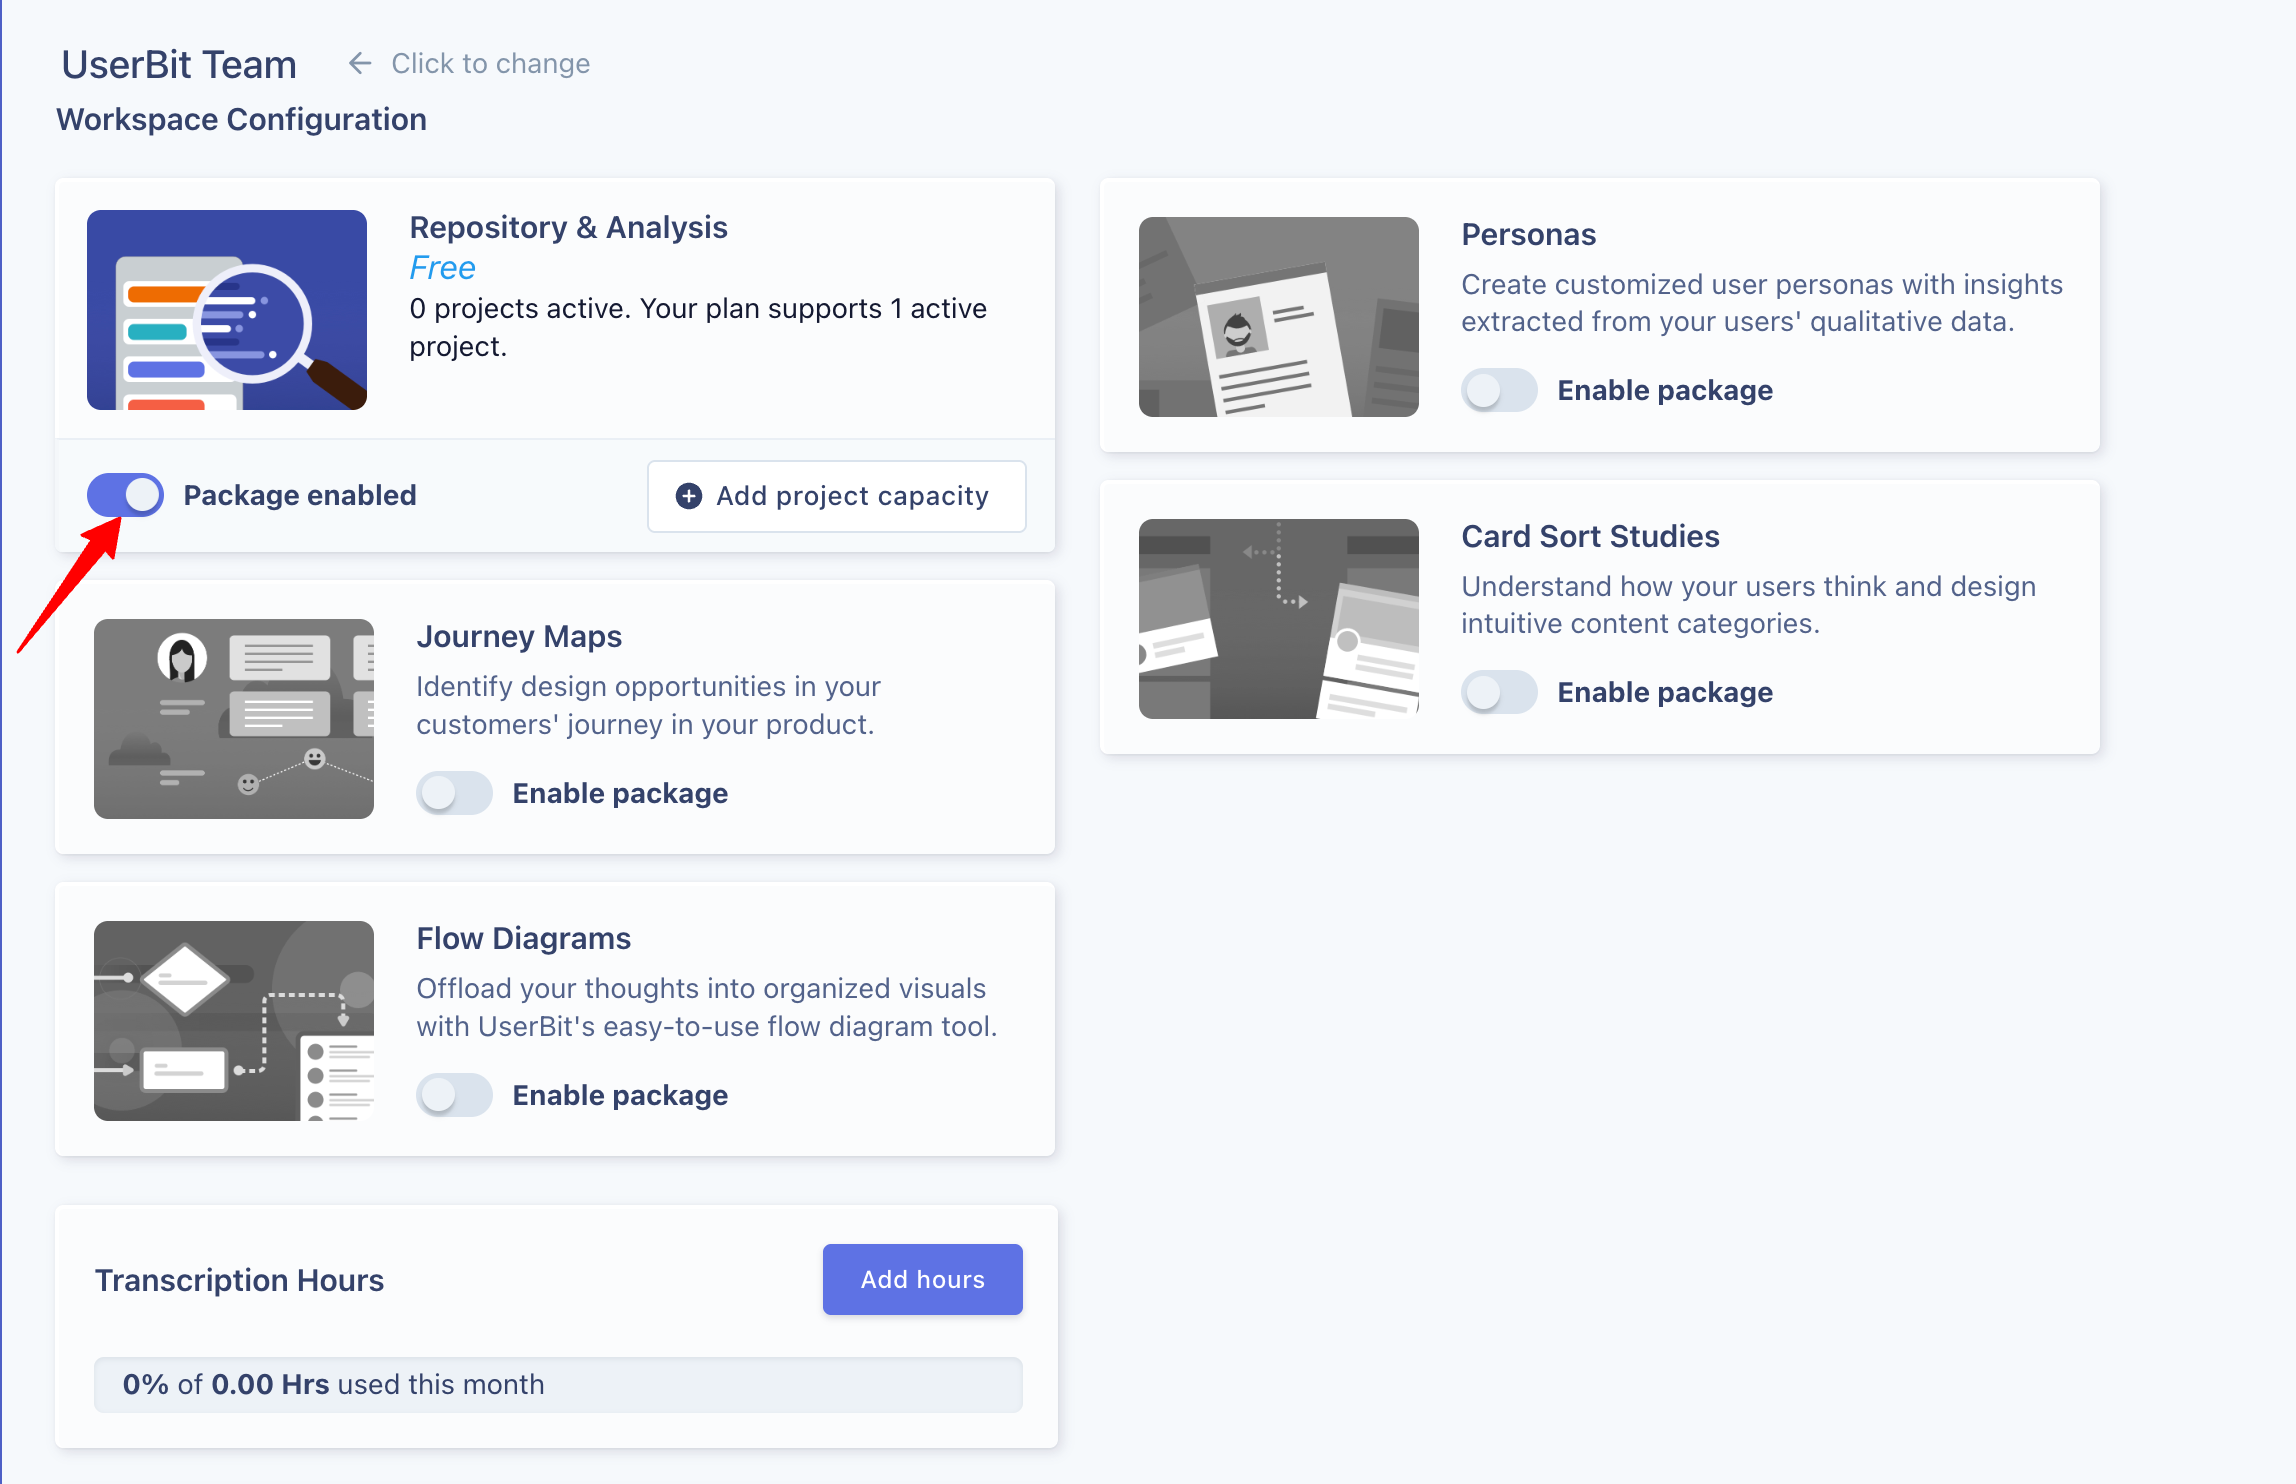
When a product is enabled, it is automatically added to the workspace and appears in the navigation menu. When disabled, the feature is removed from the workspace and no longer accessible.
Customizing brand
When you're working with a client, it is important engender trust with your work and deliverables. Personalizing their workspace goes a long way in showing your clients that you care abou their brand and name. To customize your workspace's brand, navigate to Settings > Branding.
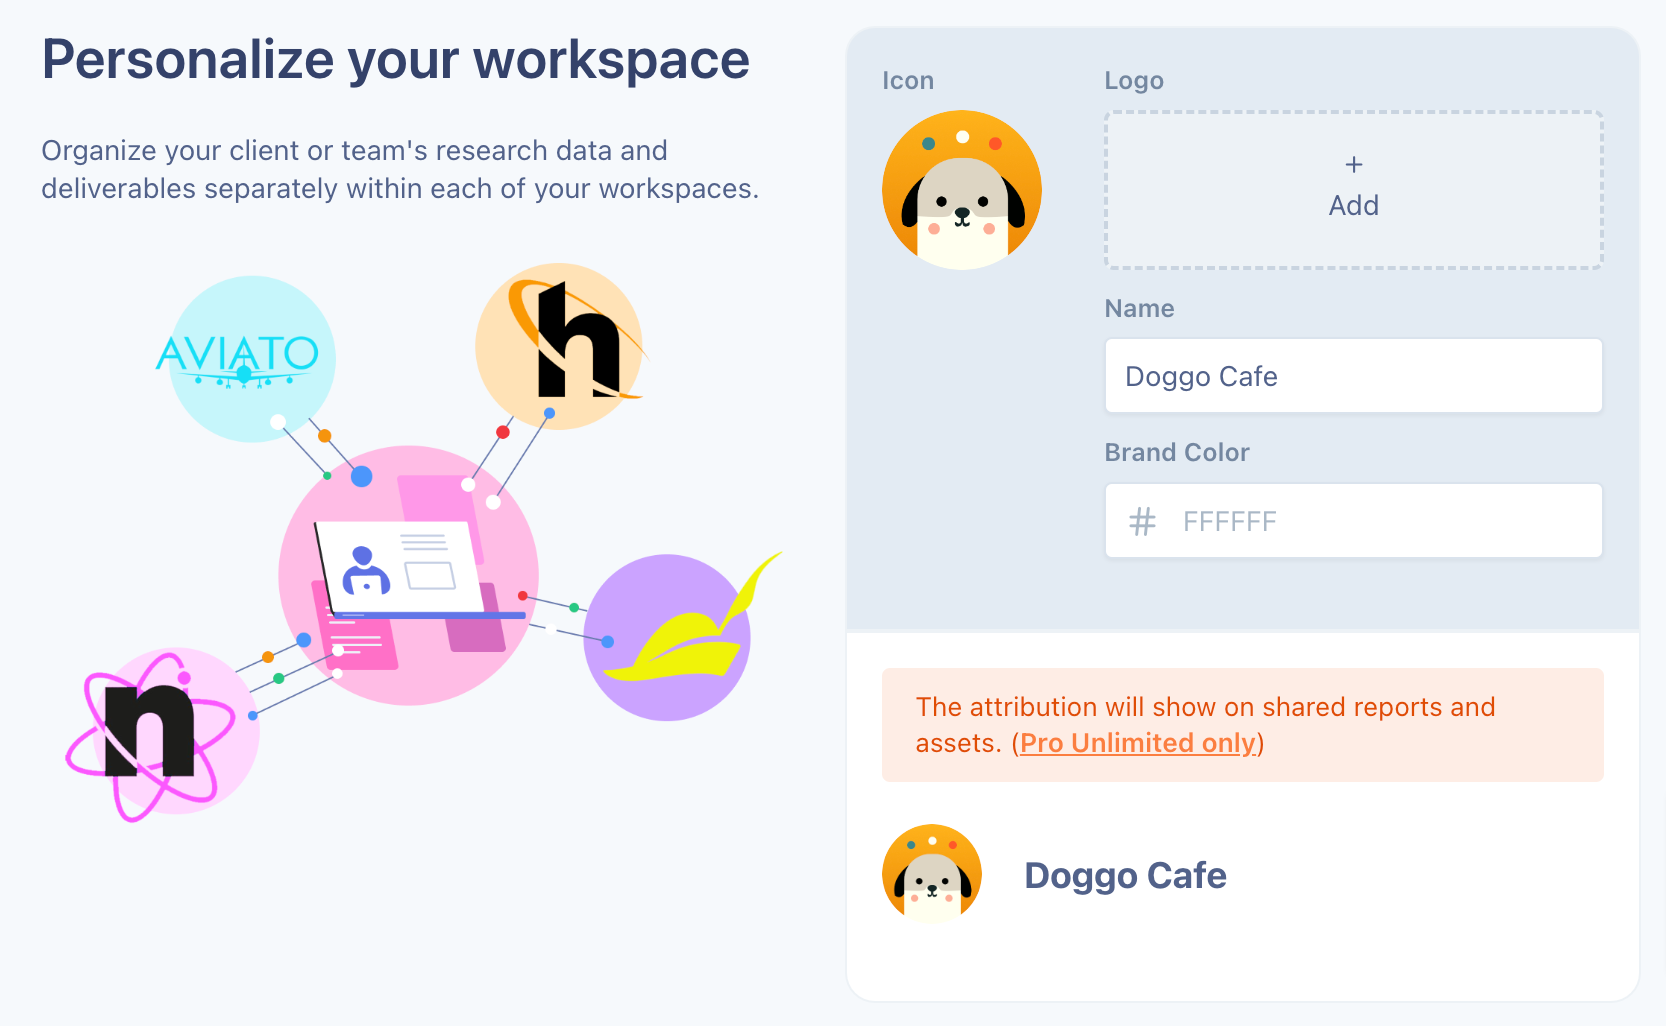
Here you can add brand assets for your workspace. These attributions will show up on any of the deliverables you share online or export out from your workspace - most notably on Client Portal and Project Reports.
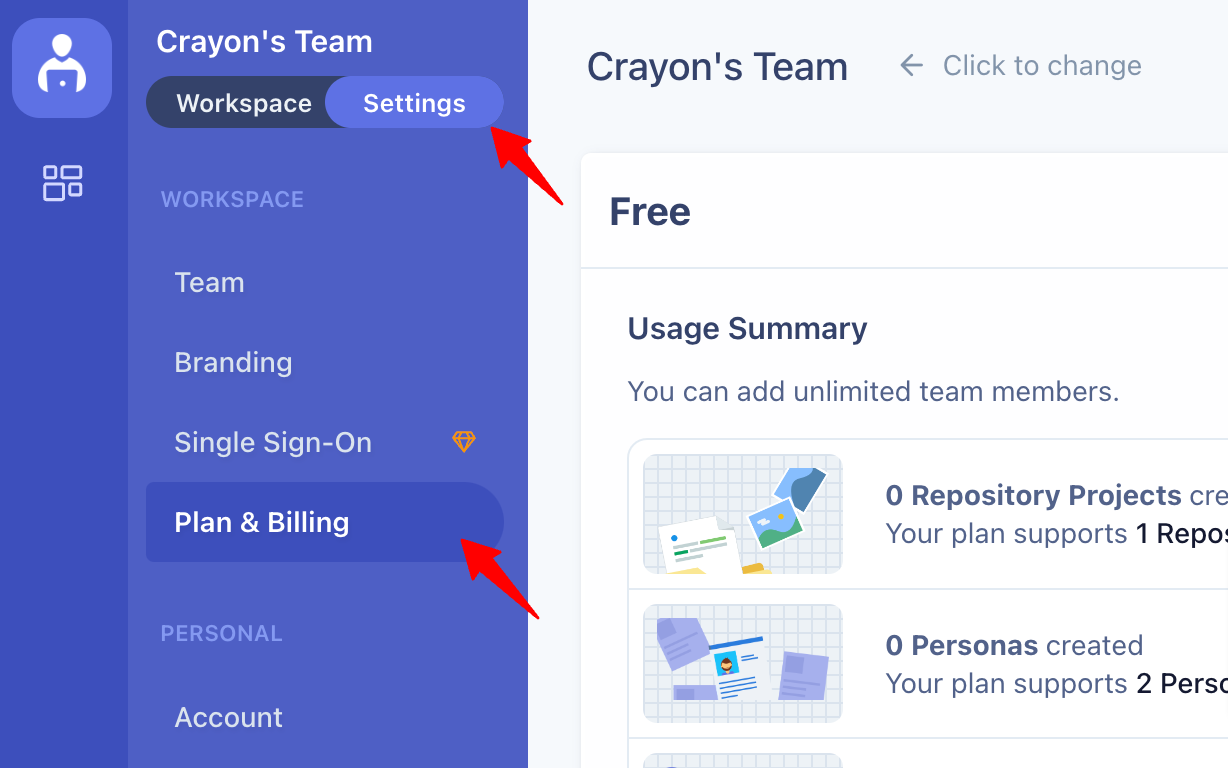
Configure billing
UserBit also allows you to configure each workspace's billing independently if you want to. Which means, you have the flexibility to use a different payment method for different workspaces if your workflow requires it.
Needless to say, this also allows you to configure one of your workspace's capacity/configuration without affecting the others. To change billing or capacity configurations, navigate to Settings > Plan & Billing
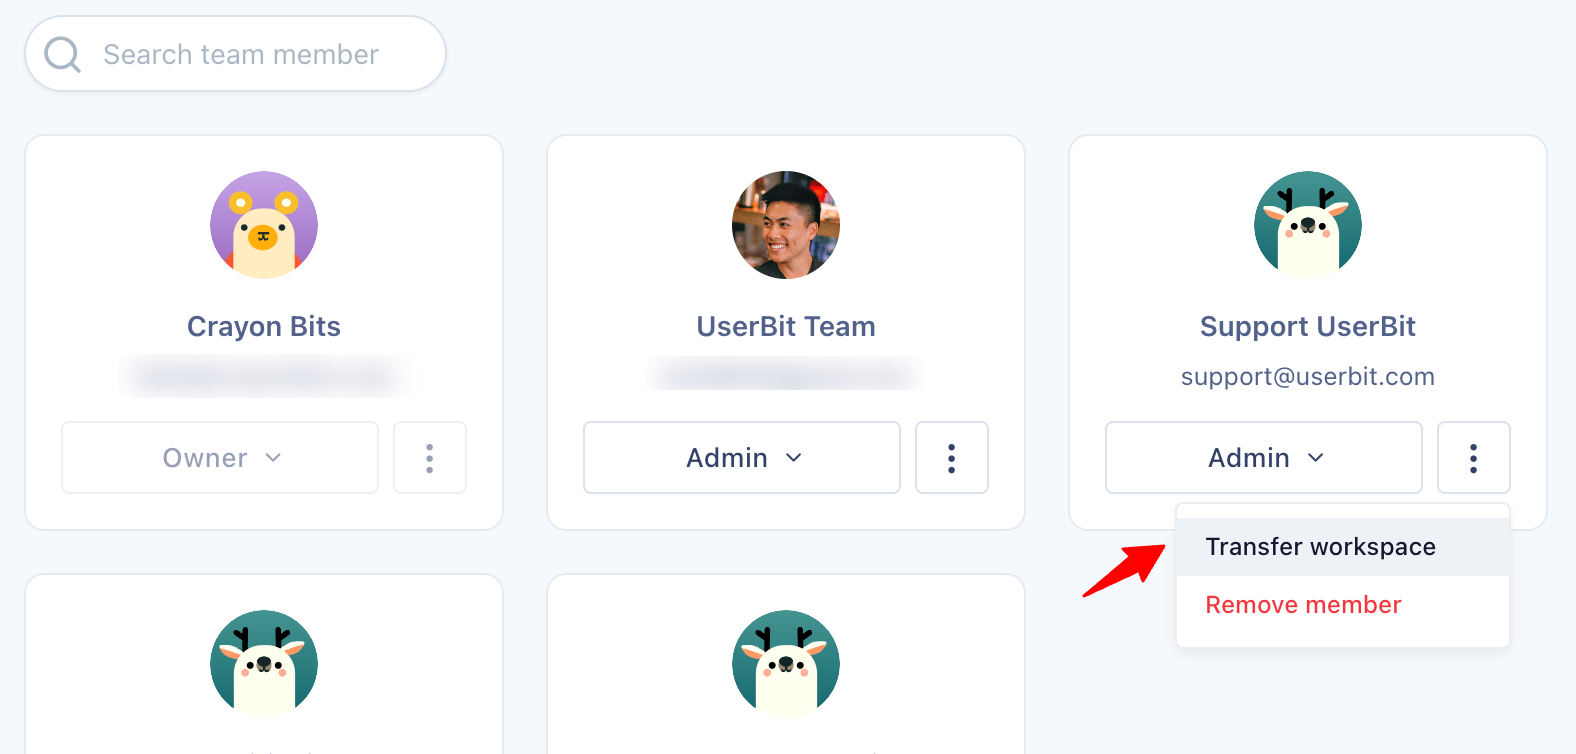
Transfer
We've also made it simple to transfer your workspace to any member on the team. This is especially useful, if you want to hand over the workspace to a client once the engagement is completed. To do this, first make sure that certain prerequisites are met:
- Only the current owner of the workspace can initiate transfer.
- The target member should have a valid payment method attached to them.
To transfer a workspace, simply navigate to the workspace team Settings > Team, click on the menu button, then select "Transfer workspace".