Themes on Client Portal
Themes allow you flexibility in organizing your portal assets. You can think of them as buckets or categories under which you'll post insights from your workspace.
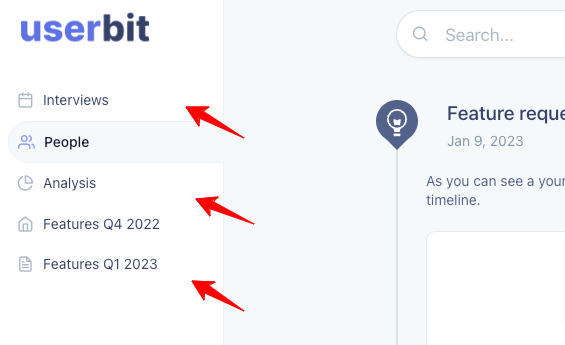
❗ The themes you create will become the sidebar navigation items on the Client Portal.
You can create themes based on features, different teams (marketing, product, design) or the type of assets published to the theme (interviews, charts, etc). Each theme can contain posts representing your findings from repository projects or other assets from within the workspace.
ℹ️ Posts are ordered by create time in descending order within a theme. However you can always re-order them from the Discovery manager.
Managing themes
Now that you understand what themes are, let’s learn about how you can manage them.
Create themes
There are two ways to create themes for your Client Portal.
1. Create theme using the Client Portal manager
Within your Client Portal manager, you'll find your theme manager under the # Manage Themes tab.
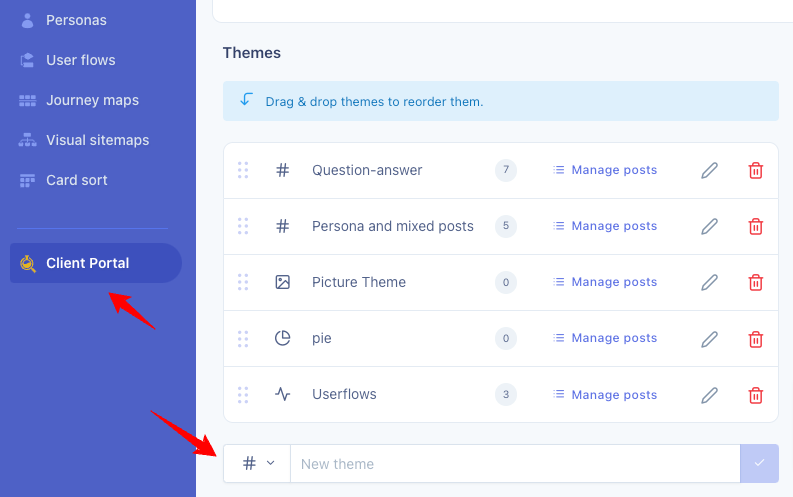
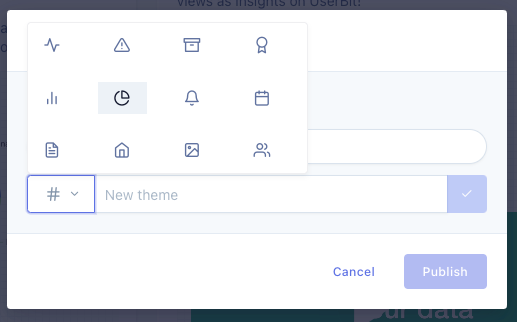
Here, you can create new themes and assign a relevant icon to it. These themes will appaear in your Client Portal's sidebar in real-time.
2. Create a theme while publishing a post to Client Portal.
You can also create themes while publishing new posts. On the publish modal, when you expand the theme selector dropdown, the last item is called + Add theme.
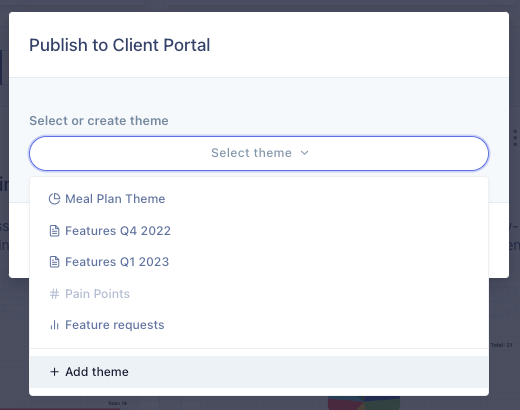
When you click on the Add theme item, you'll be presented with a form where you can create and select a new theme for your post.
Update / delete themes
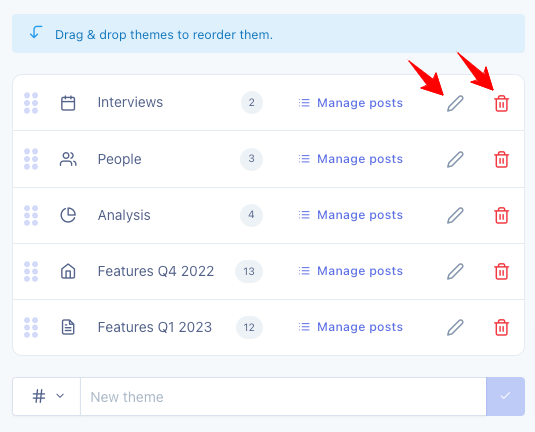
Your portal manager also allows you to update or delete a theme directly from the theme row.
Reorder themes
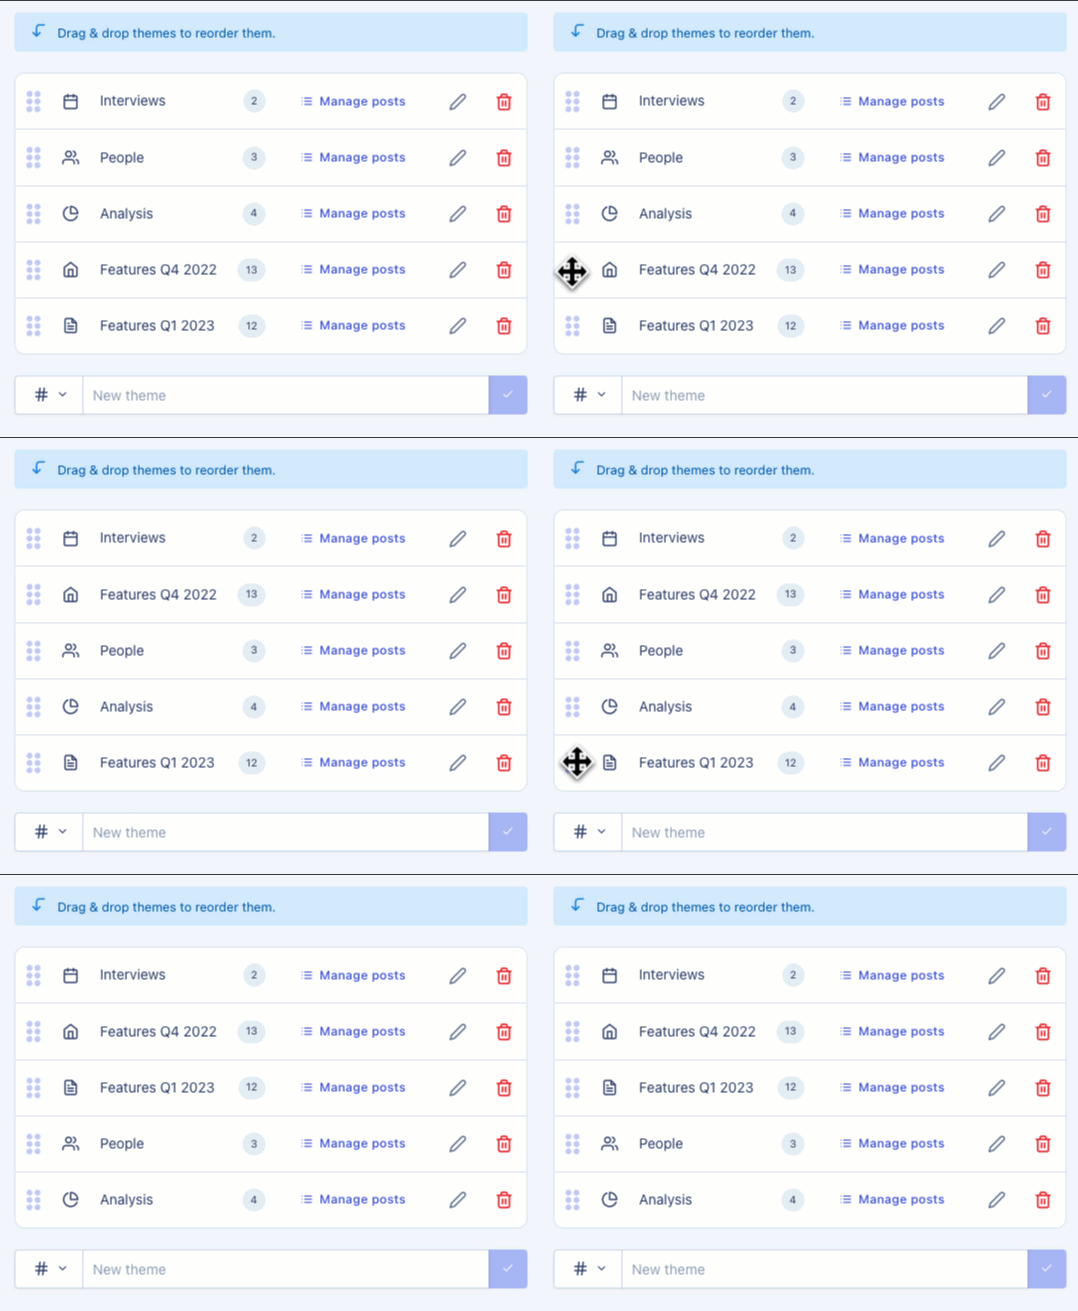
As mentioned before, the themes form the sidebar navigation of your Client Portal. You also have the ability to arrange these themes in whatever order makes the most sense for your stakeholders. You can do so by simply dragging and dropping the themes in the theme manager:
