Zapier
Connect UserBit to 5000+ apps using Zapier
UserBit's partnership with Zapier allows you to create powerful integrations with 1000s of apps that you already use for your UX workflow. You can quickly set up powerful automations like bringing in data from Google Drive, publishing insights to Slack or even pushing interviews to your calendar.
Zapier integration is currently in Beta, if you're on a pro or enterprise plan, and would like to join our beta list, contact us at support@userbit.com.
How does it work?
Zapier allows you to set up what they call - Zaps. You can think of zaps like a statement:
if x happens, then do y
Within a zap, x is what is known as a trigger and y is an action. So how does this apply in real world? Here are a few examples:
- If I create a new interview in UserBit (trigger), block that time on my Google calendar (action).
- If I publish an insight on UserBit (trigger), create a new Jira ticket (action).
- When I add a new file in Google Drive (trigger), cteate it as a note in UserBit (action).
Available triggers and actions in UserBit
Triggers
- Publish an insight
- Create an interview
Actions
- Create or update a note
- Create survey response
How to set it up?
1. Get your workspace enabled for Zapier
Zapier integration is currently in Beta on UserBit so before you can get started, it would need to be enabled for your account. If you're on UserBit's Pro or Enterprise tier, simply reach out to support@userbit.com indicating that you're interested and we'll enroll you into our early adopter program.
2. Create a zapier account (if you don't have one already).
Zapier has various pricing tiers but the good news is, you can leverage their automation with UserBit even on their free plan. Once you log in, you can view the UserBit integrations here. You can either create your own Zap by clicking on the Connect UserBit to 5000+ apps button or scroll down to see some of the handy zap templates we've created for you.
3. Set up a zap
Let's say you picked one of the popular zaps - Email to UserBit Note. Here, everytime you forward an email to a zapier provided email address, the zap will automatically create a note within your UserBit project with the contents of the forwarded email. (Great way to keep track of important user feedback).
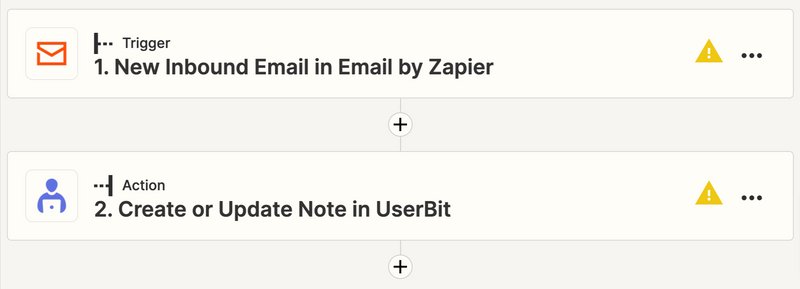
- For this zap, when you click on the action: Create or Update Note in UserBit, Zapier will ask you to connect your UserBit account.
- When you click on the Sign in to UserBit, Zapier will launch an authentication window for you to sign up with your UserBit credentials.
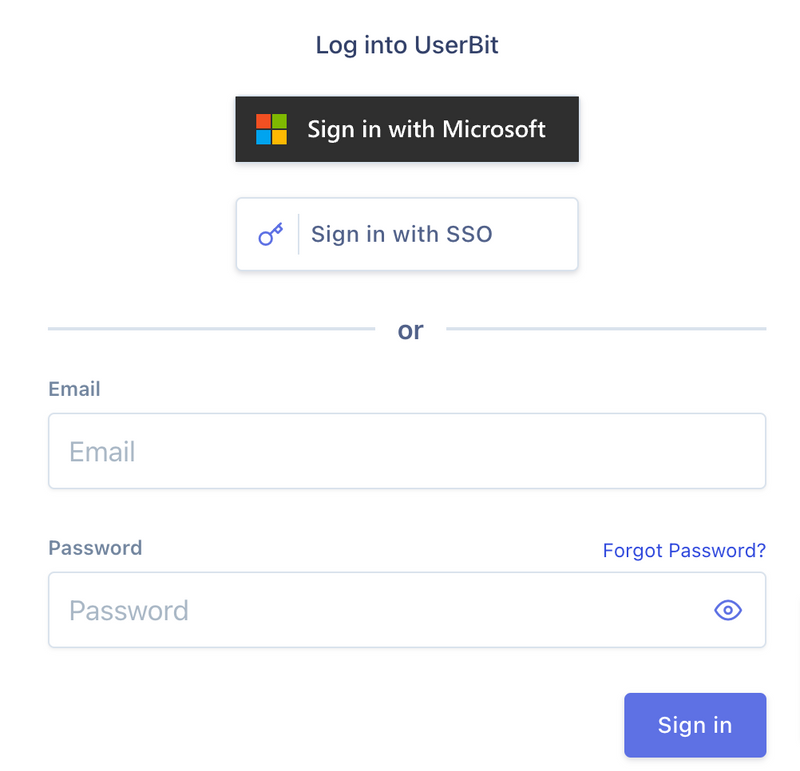
- Once you sign up, your UserBit account will be connected to zapier and you'll now be able to set up your Zaps.
Popular UserBit Automations
Here are a few powerful UserBit automations that you can leverage using Zapier:
- Create a Note by forwarding an email: View Zap Template
- Publish UserBit insights to Slack as a message with a PDF of the insight: View Zap Template
- Create Google Meet meetings when new interviews are created within UserBit: View Zap Template
- Publish UserBit insights to Product Board as notes: View Zap Template
- Automatically send new Google Forms responses to a UserBit Survey: View Zap Template
Disable Zapier Integrations
If at any point you want to disable Zapier for your workspace, you can do that from Settings > Integrations of your workspace.