Flow diagrams advanced customizations
Group elements in your flow
Grouping helps you organize related elements in a flow so they move and behave as a single unit. Instead of adjusting each element one by one, you can group them together and keep your flow clean, structured, and easy to manage.
This is especially useful when working on complex flows with multiple screens, actions, or decision points.
What is grouping in Flows?
The Group nodes let you visually combine multiple elements in a flow into one container. Once grouped:
-
All elements move together when you drag the group
-
The grouped elements stay aligned and connected
-
The flow becomes easier to read and edit
Think of a group as a way to show that certain steps or elements belong together in the user journey.
To create a group:
-
Open your flow in Flows by UserBit
-
Click on the group option from the toolbar
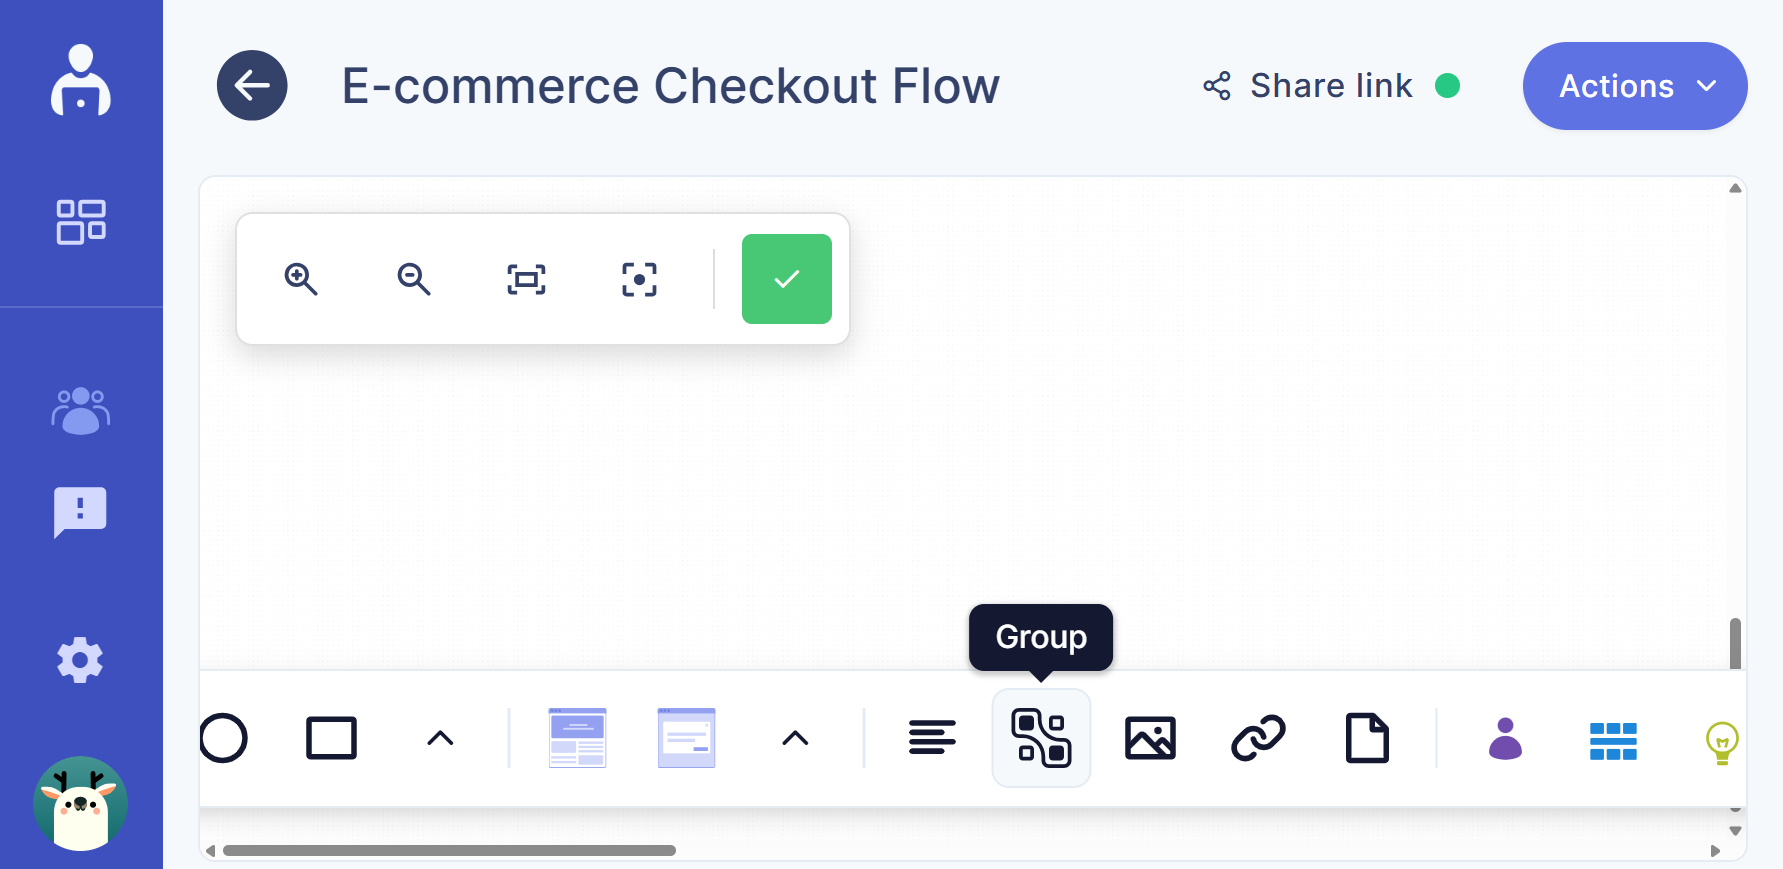
- A group container appears on the canvas
- Drag the elements you want to include into the group
Once elements are inside the group, they automatically become part of it.
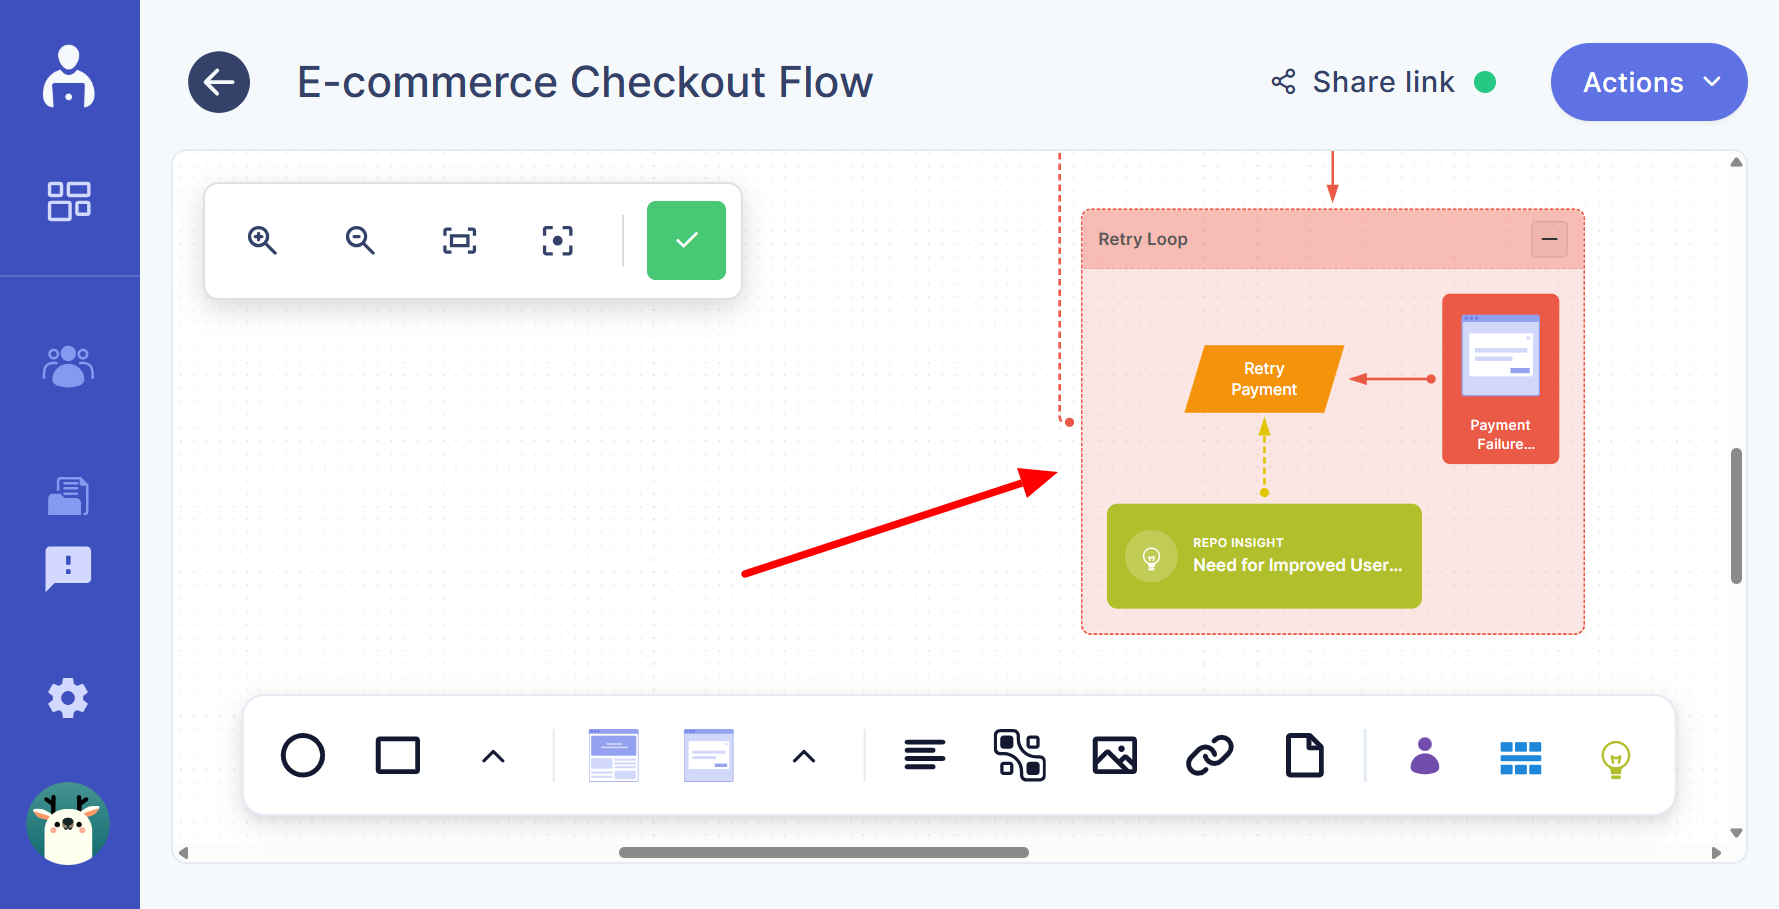
Move grouped elements together
After grouping, the elements behave as a single unit.
-
Click and drag the group container
-
All elements inside the group move together
-
Connections and relative positions remain intact
This makes it easy to reposition entire sections of a flow without breaking the layout.
Why use groups in your flows?
Grouping helps you:
-
Organize complex flows into clear sections
-
Show logical relationships between steps
-
Keep large diagrams tidy and readable
-
Make updates faster by moving related elements together
It’s especially helpful when presenting flows to stakeholders or collaborating with your team.
Utility nodes
Utility nodes allow you to add supporting content such as images, links, and files directly to your flow. These nodes help you provide additional context and connect external resources to specific steps in your diagram.
Utility nodes appear on the canvas and can be connected to other flow elements.
Image node
Image nodes let you add visual references to your flow, such as screenshots, diagrams, or charts.
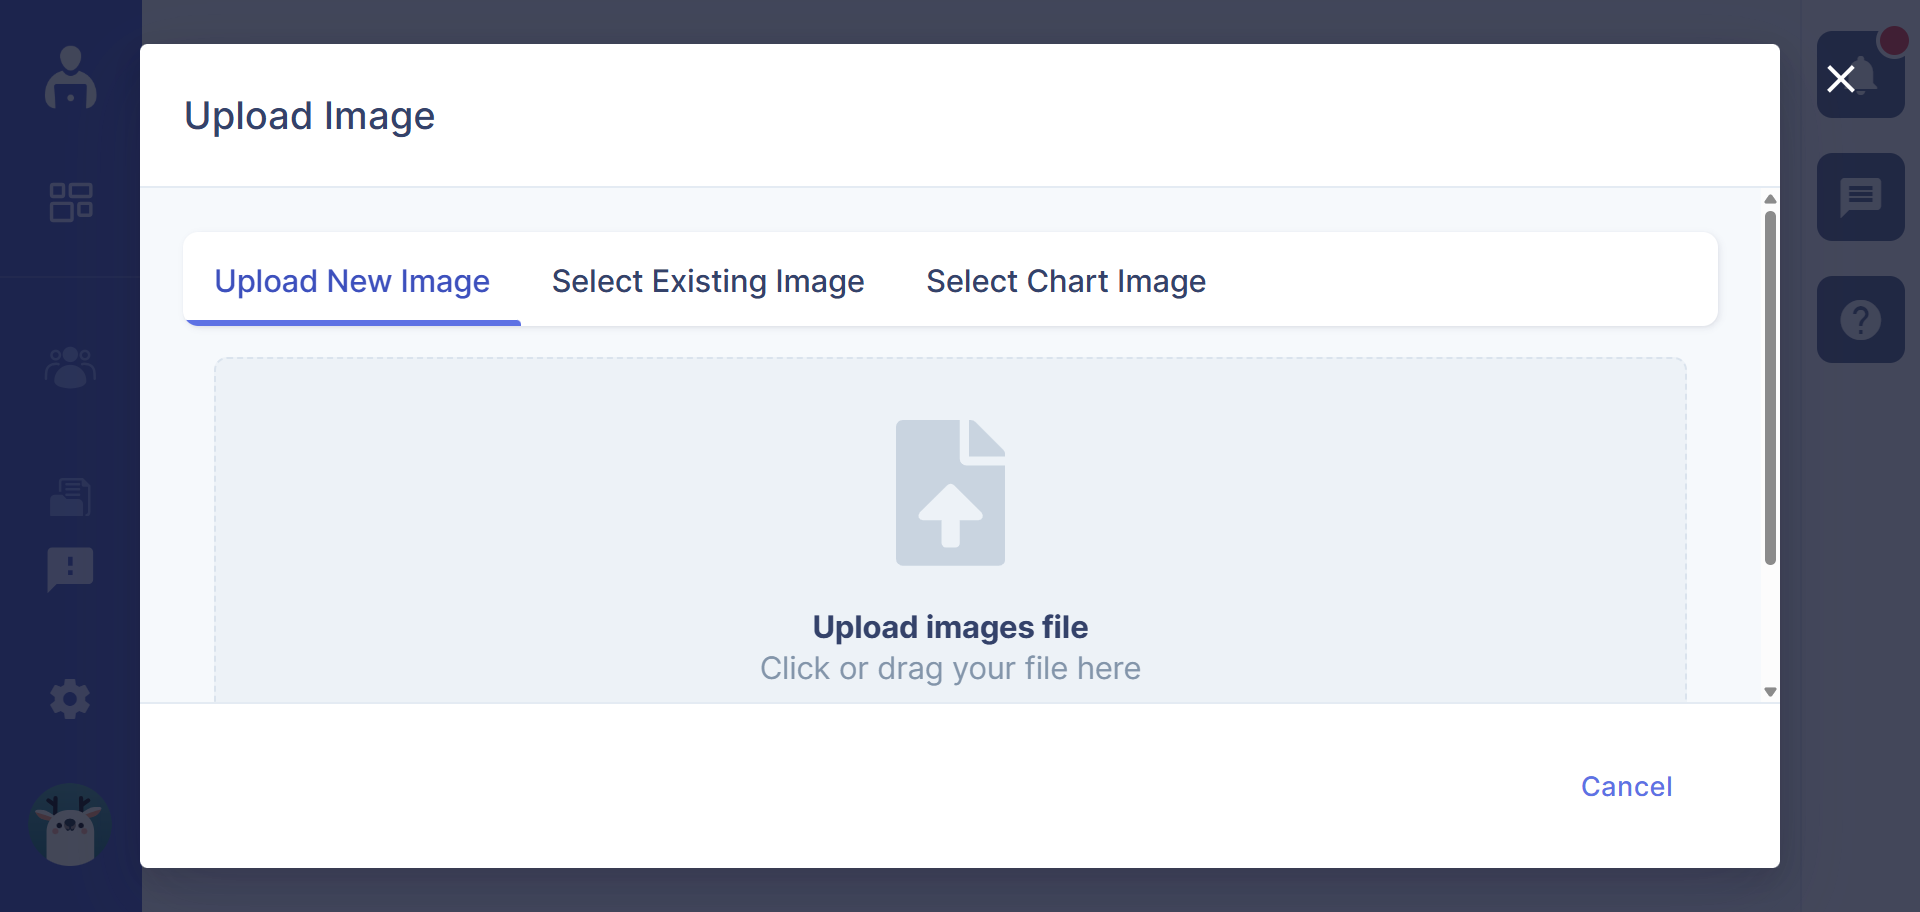
Steps to add an image node:
- Click the Image icon in the bottom toolbar.
-
A dialog box will appear.
-
Upload a new image or select an existing image.
- The selected image appears on the canvas.
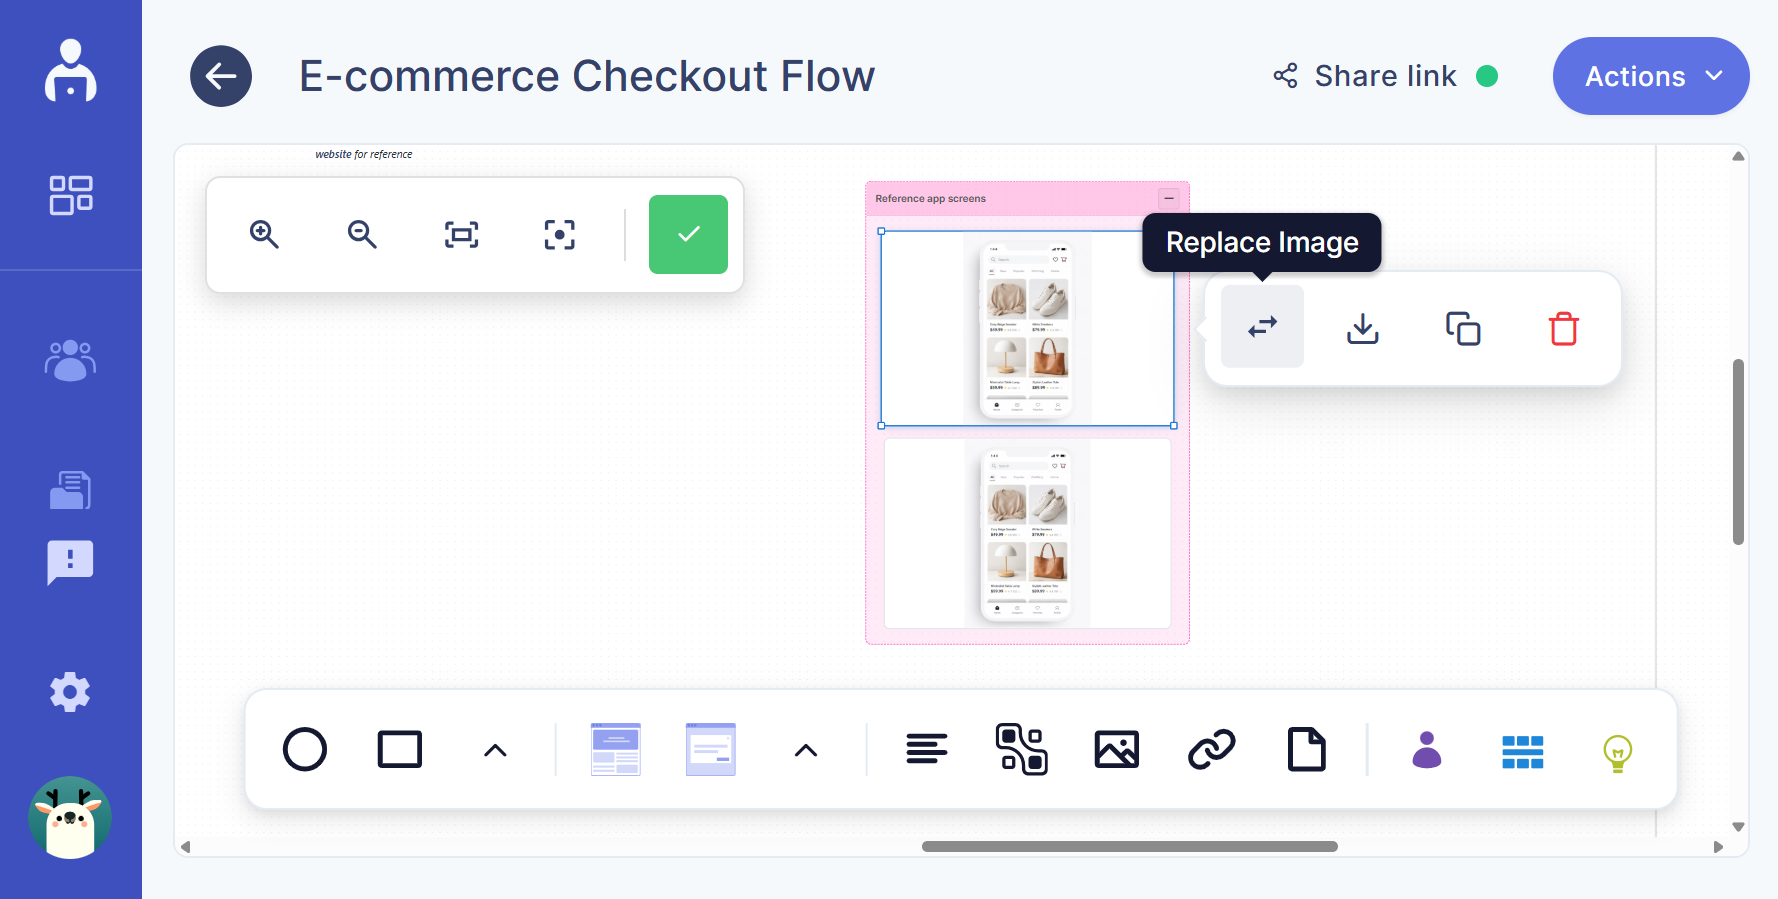
The image will appear as a node that you can move and connect with other flow elements. You can also replace, download, duplicate, and delete the image node as per your needs.
Link node
Link nodes allow you to connect external URLs to your flow.
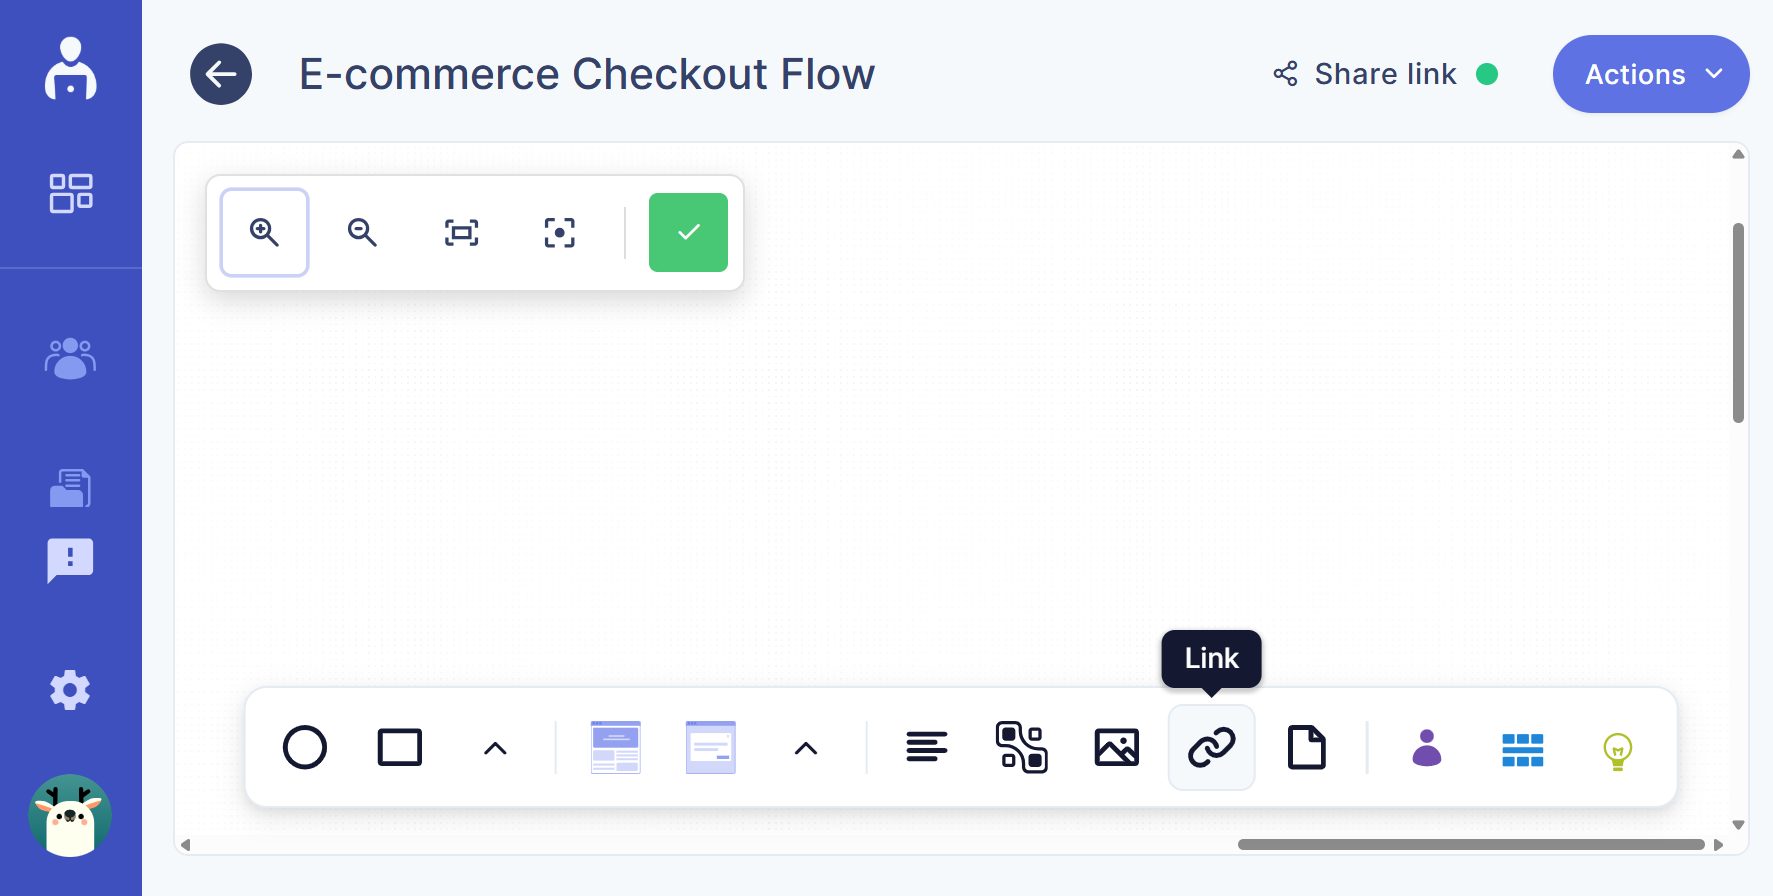
Steps to add a link node:
- Click the Link icon in the bottom toolbar.
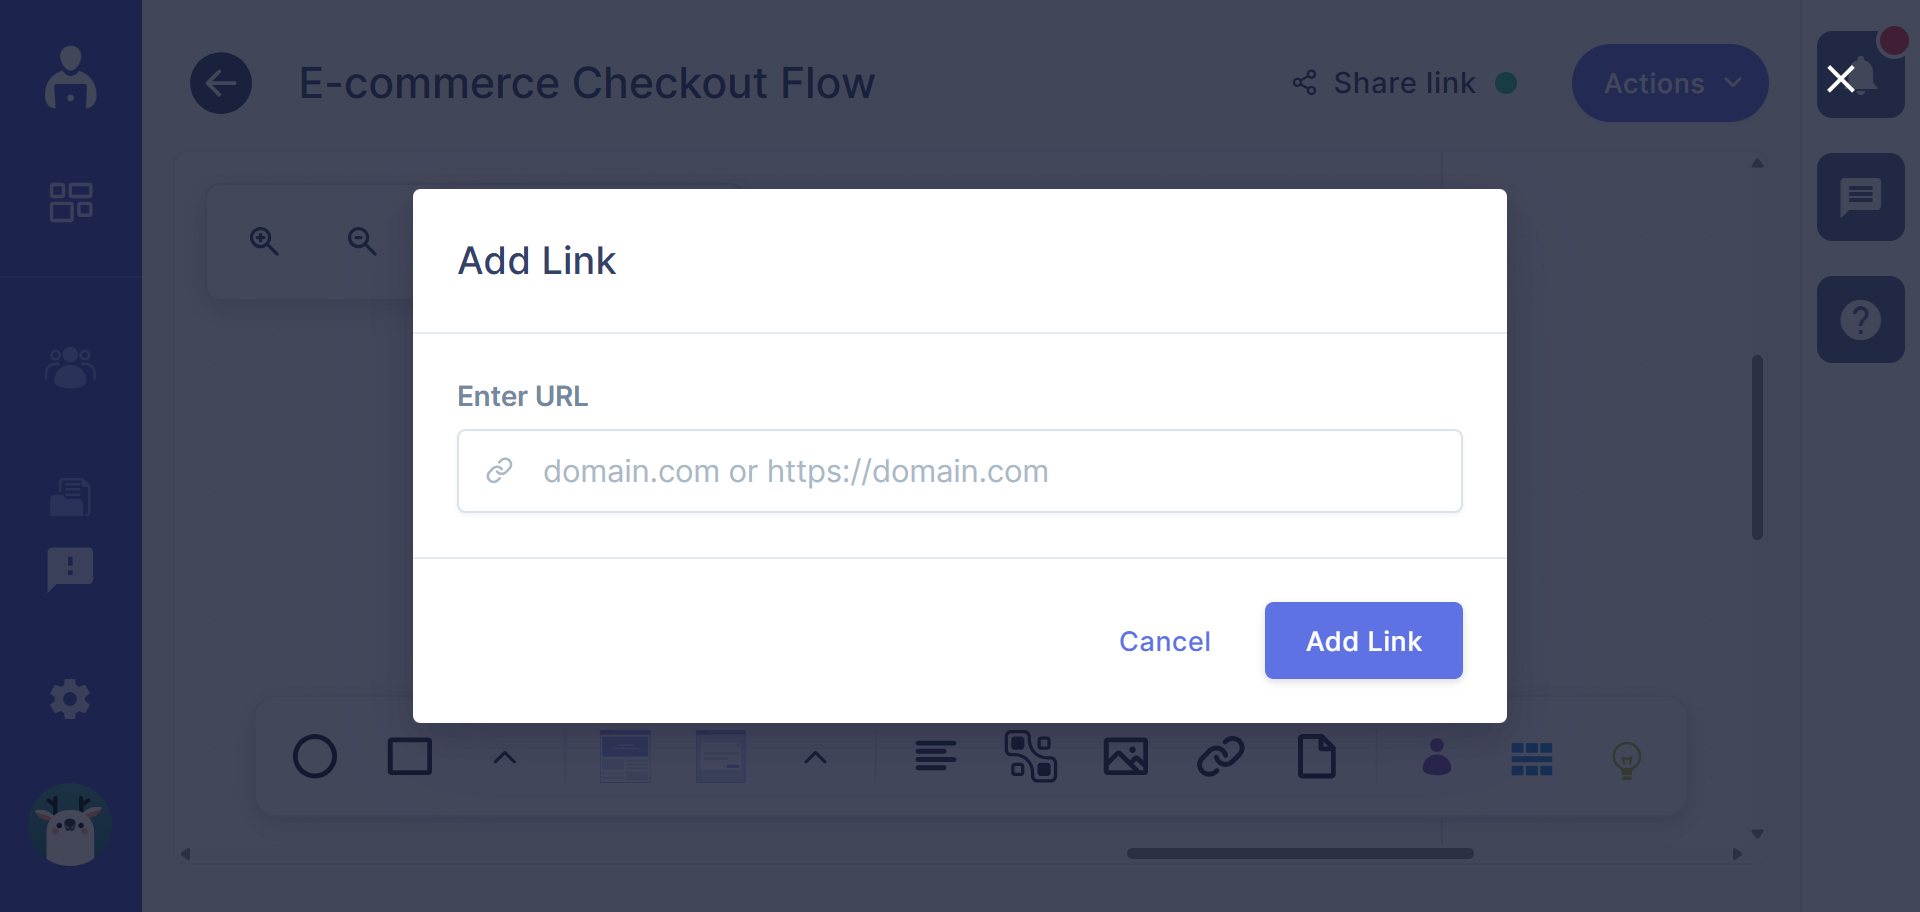
-
Enter the URL in the dialog box.
-
Click the Add link button.
- The added link will appear as a node on the canvas.
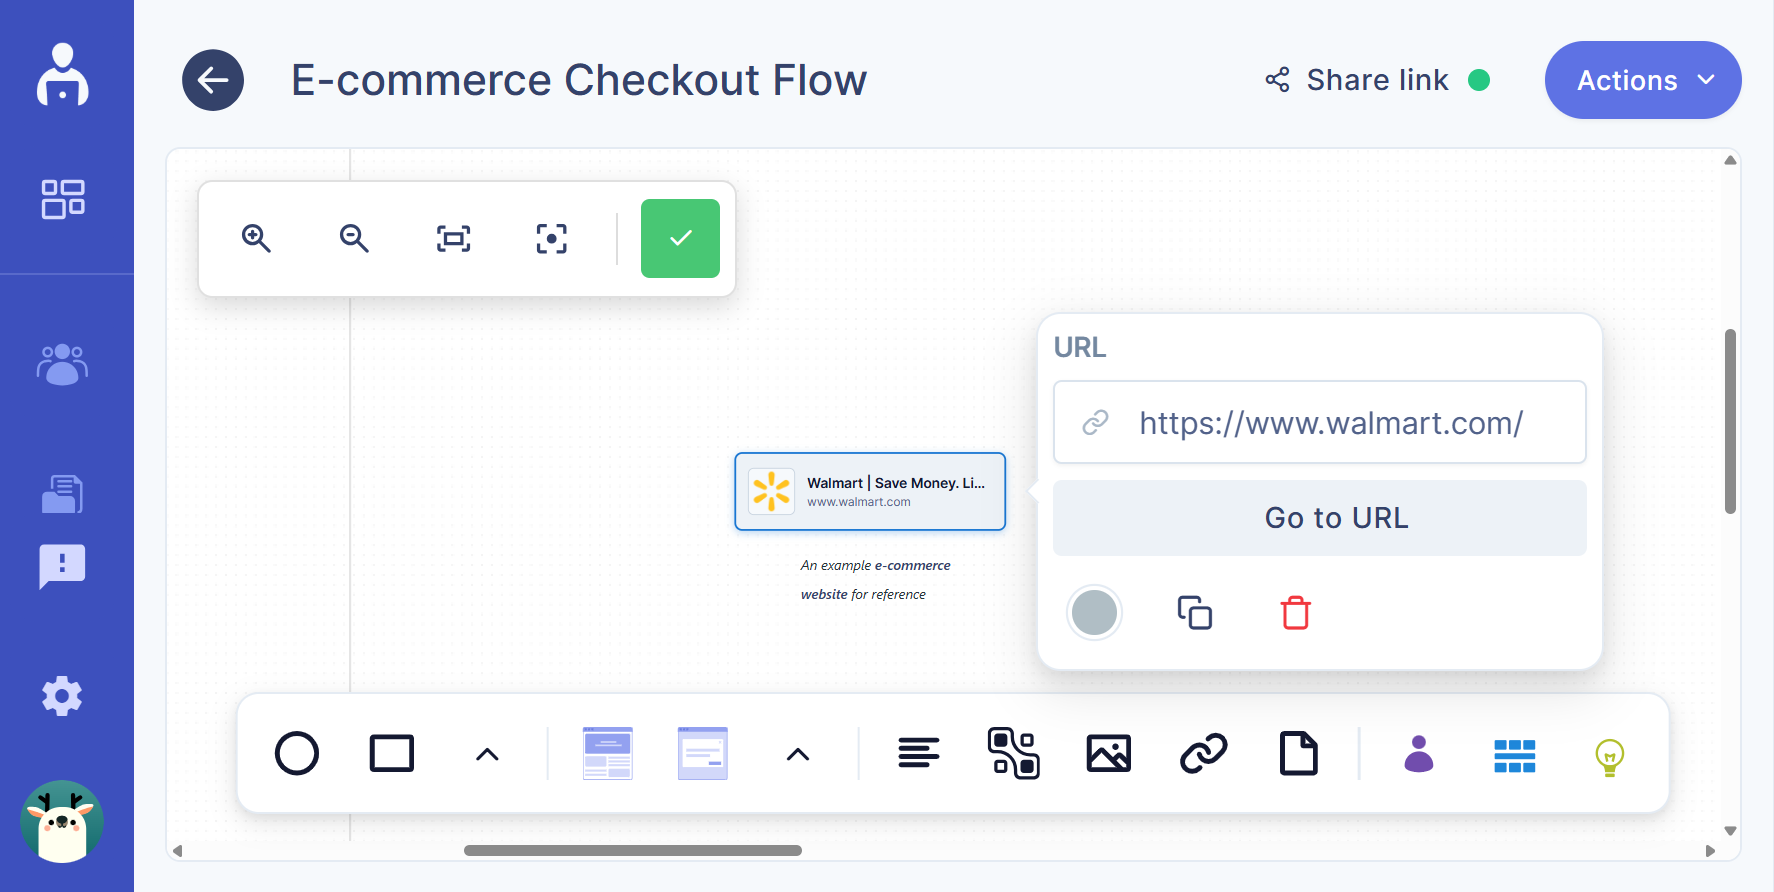
The link will appear as a node on the canvas that you can connect to other elements.
File node
File nodes allow you to attach documents or other files directly to your flow.
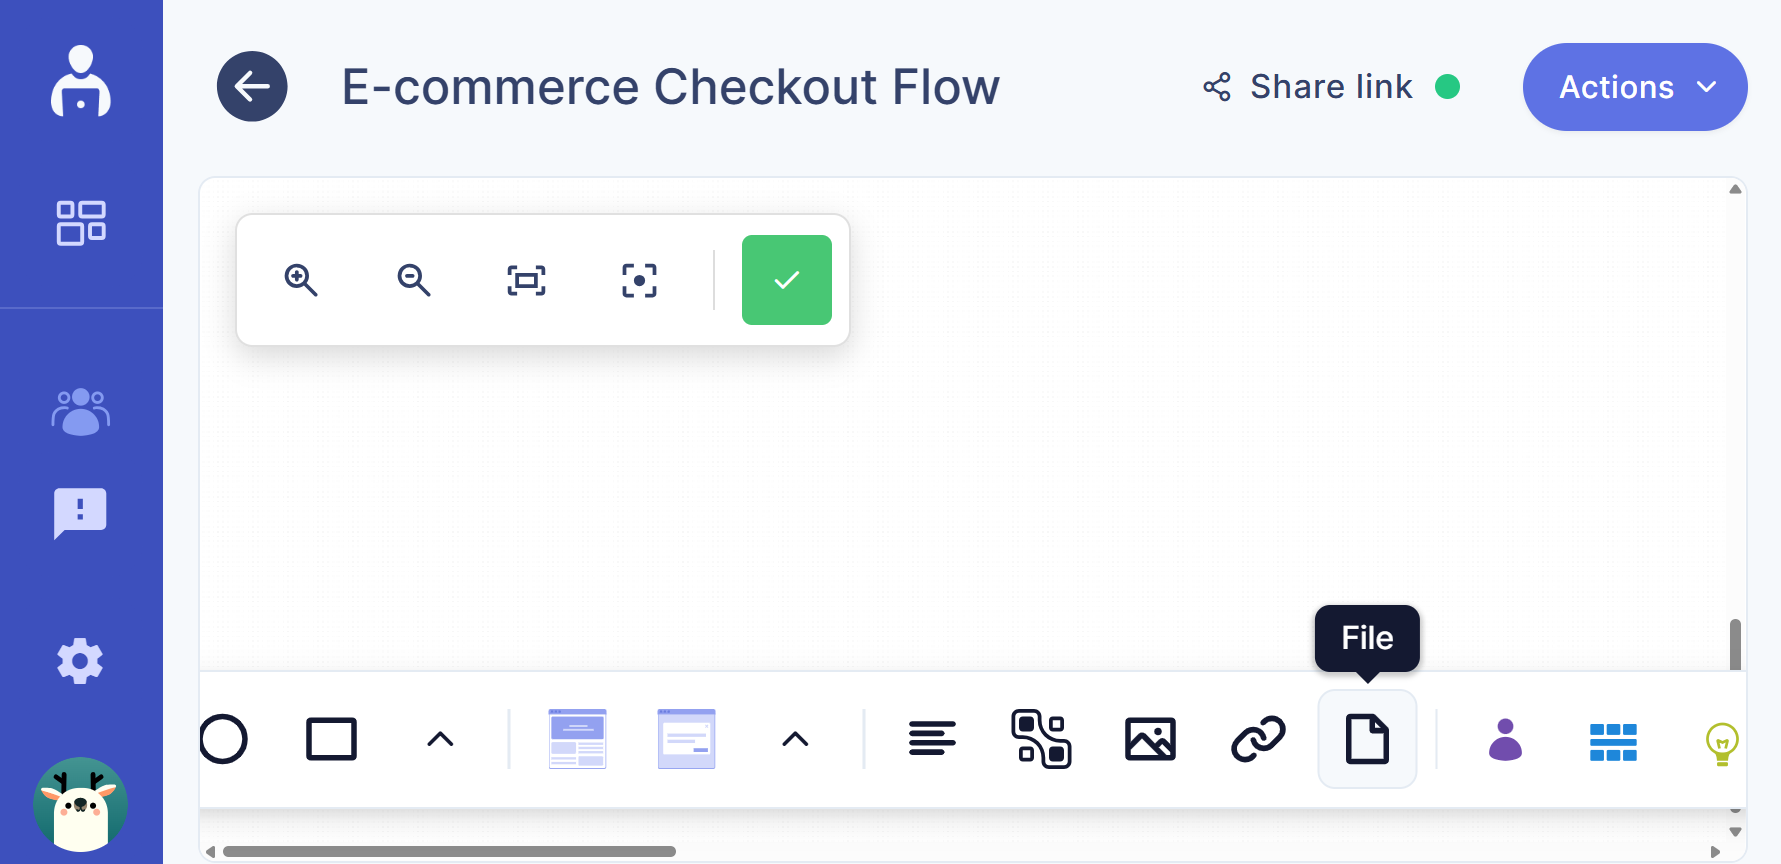
Steps to add a file node:
- Click the File icon in the bottom toolbar.
-
A dialog box will appear.
-
Upload a new file or select an existing file.
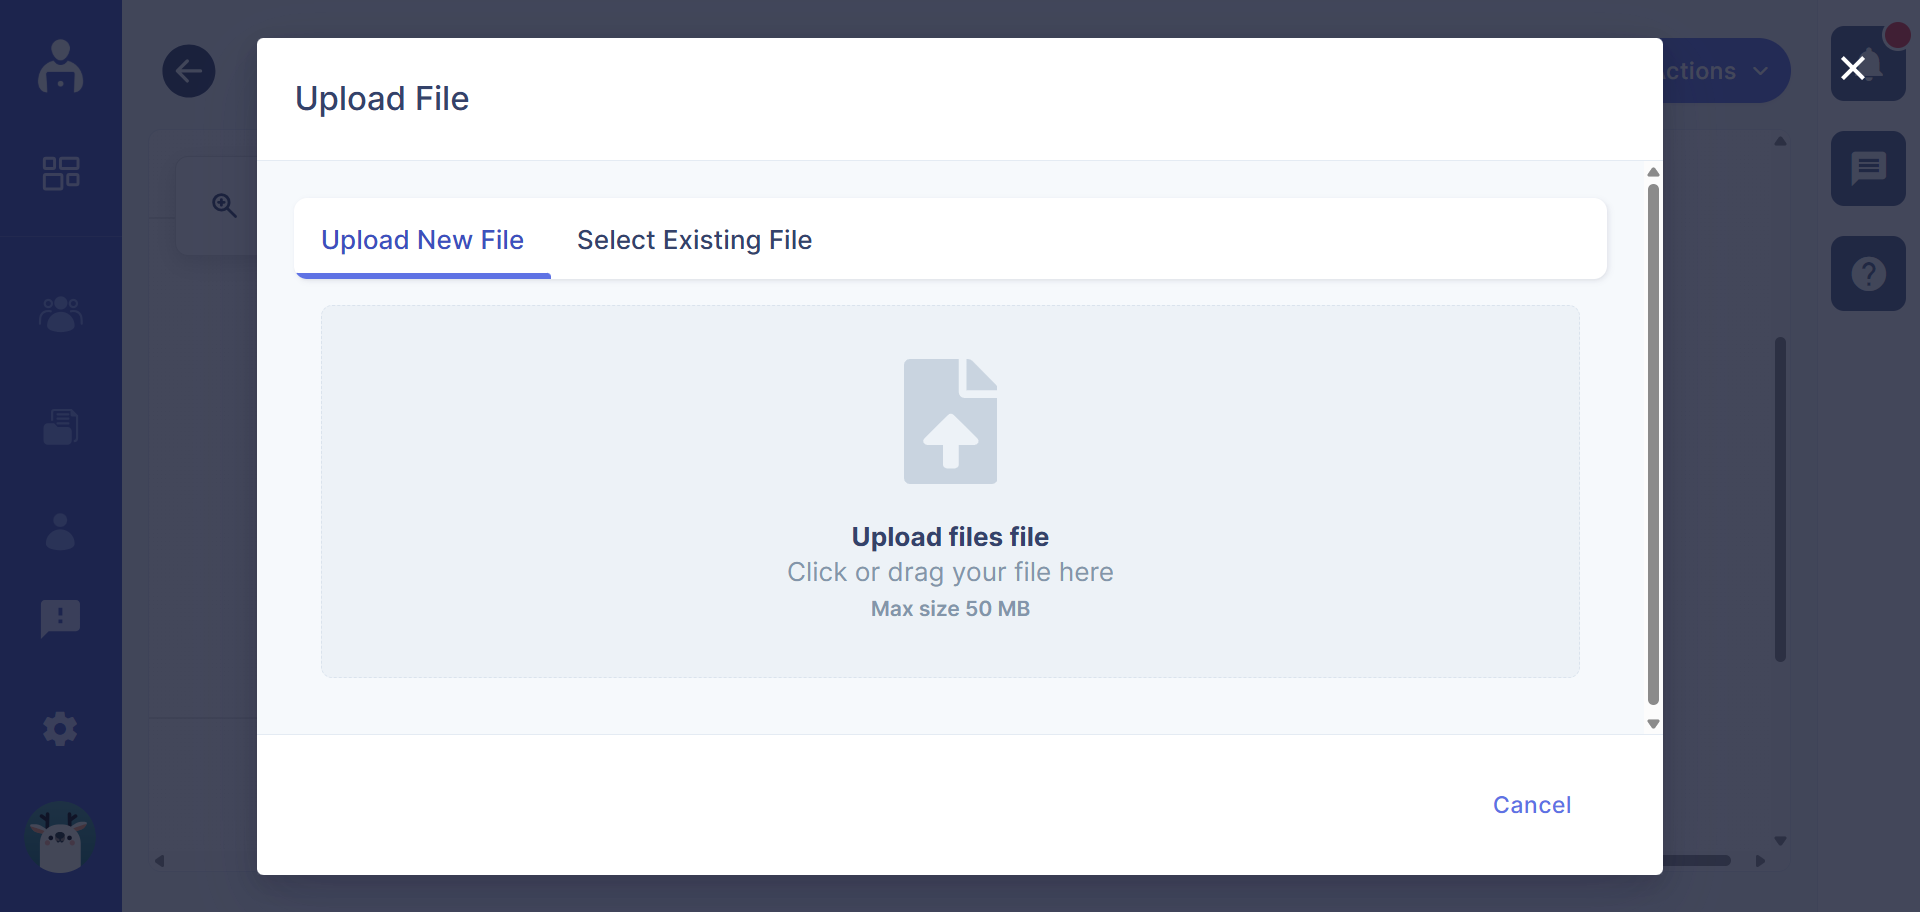
- The selected file appears on the canvas as a file node.
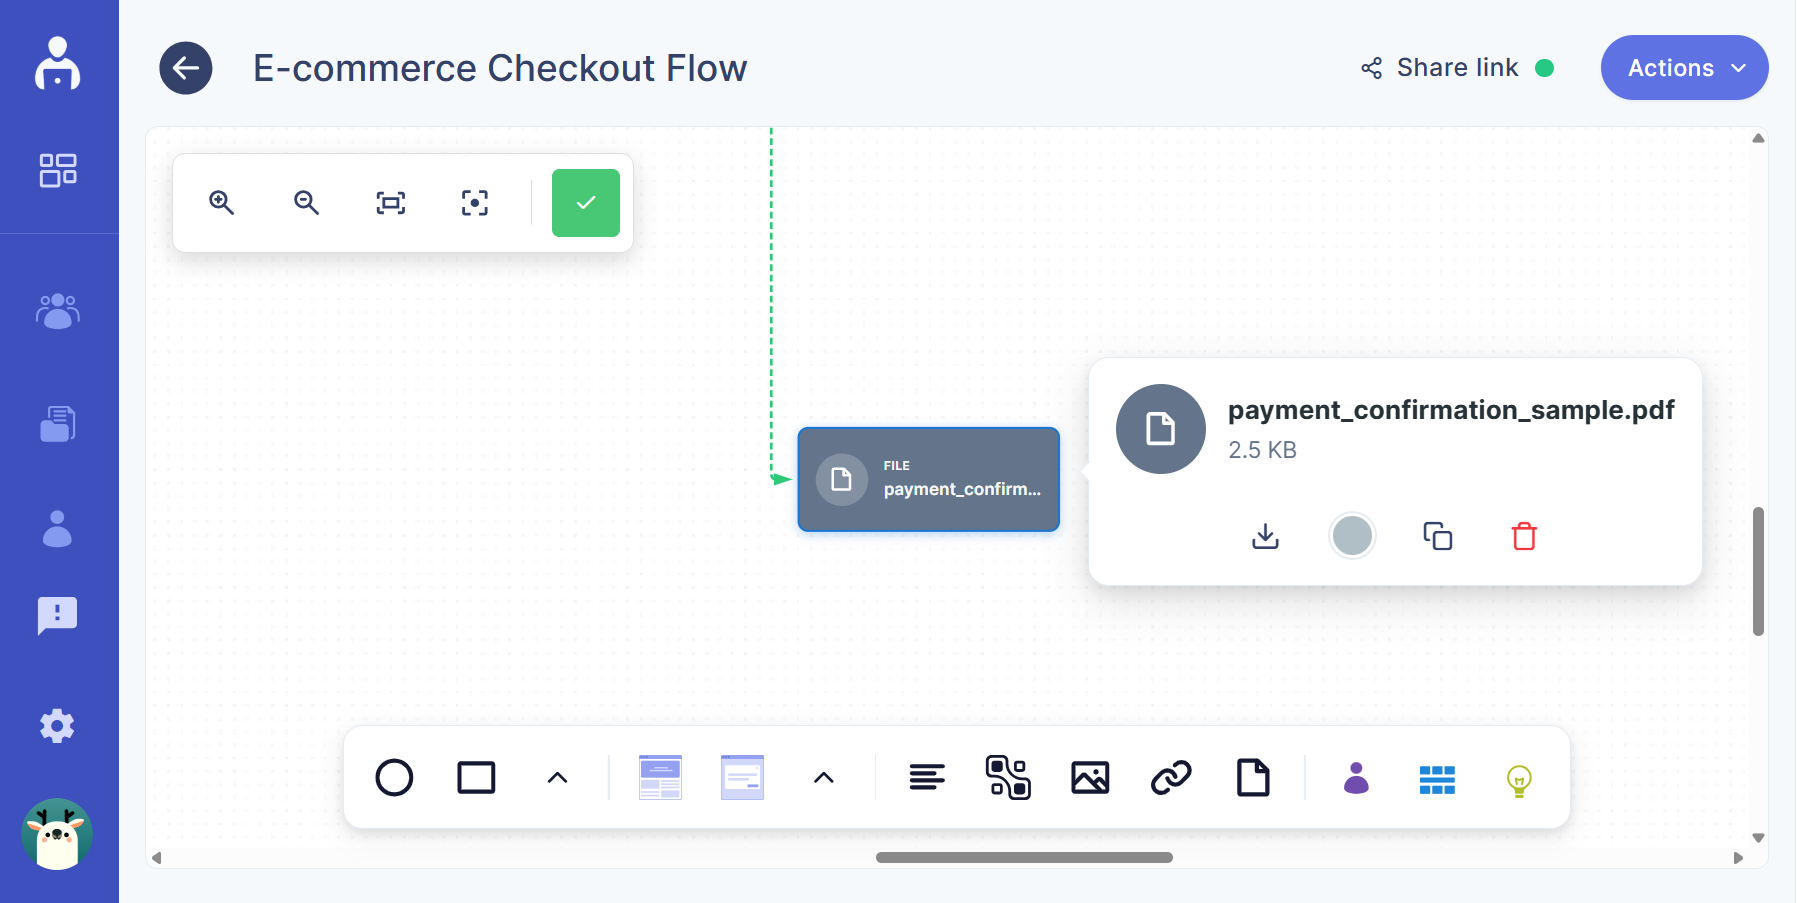
The file will appear as a node that you can connect with other flow elements.
These utility nodes help you enrich your flows with supporting content, making them more informative and easier to understand.
Add a text node
Text nodes allow you to add custom-written content directly to the canvas. Use them to provide explanations, notes, or additional context within your flow.
To add a text node:
- Click the text icon in the bottom toolbar.
-
A text node will appear on the canvas.
-
Enter your content directly into the node.
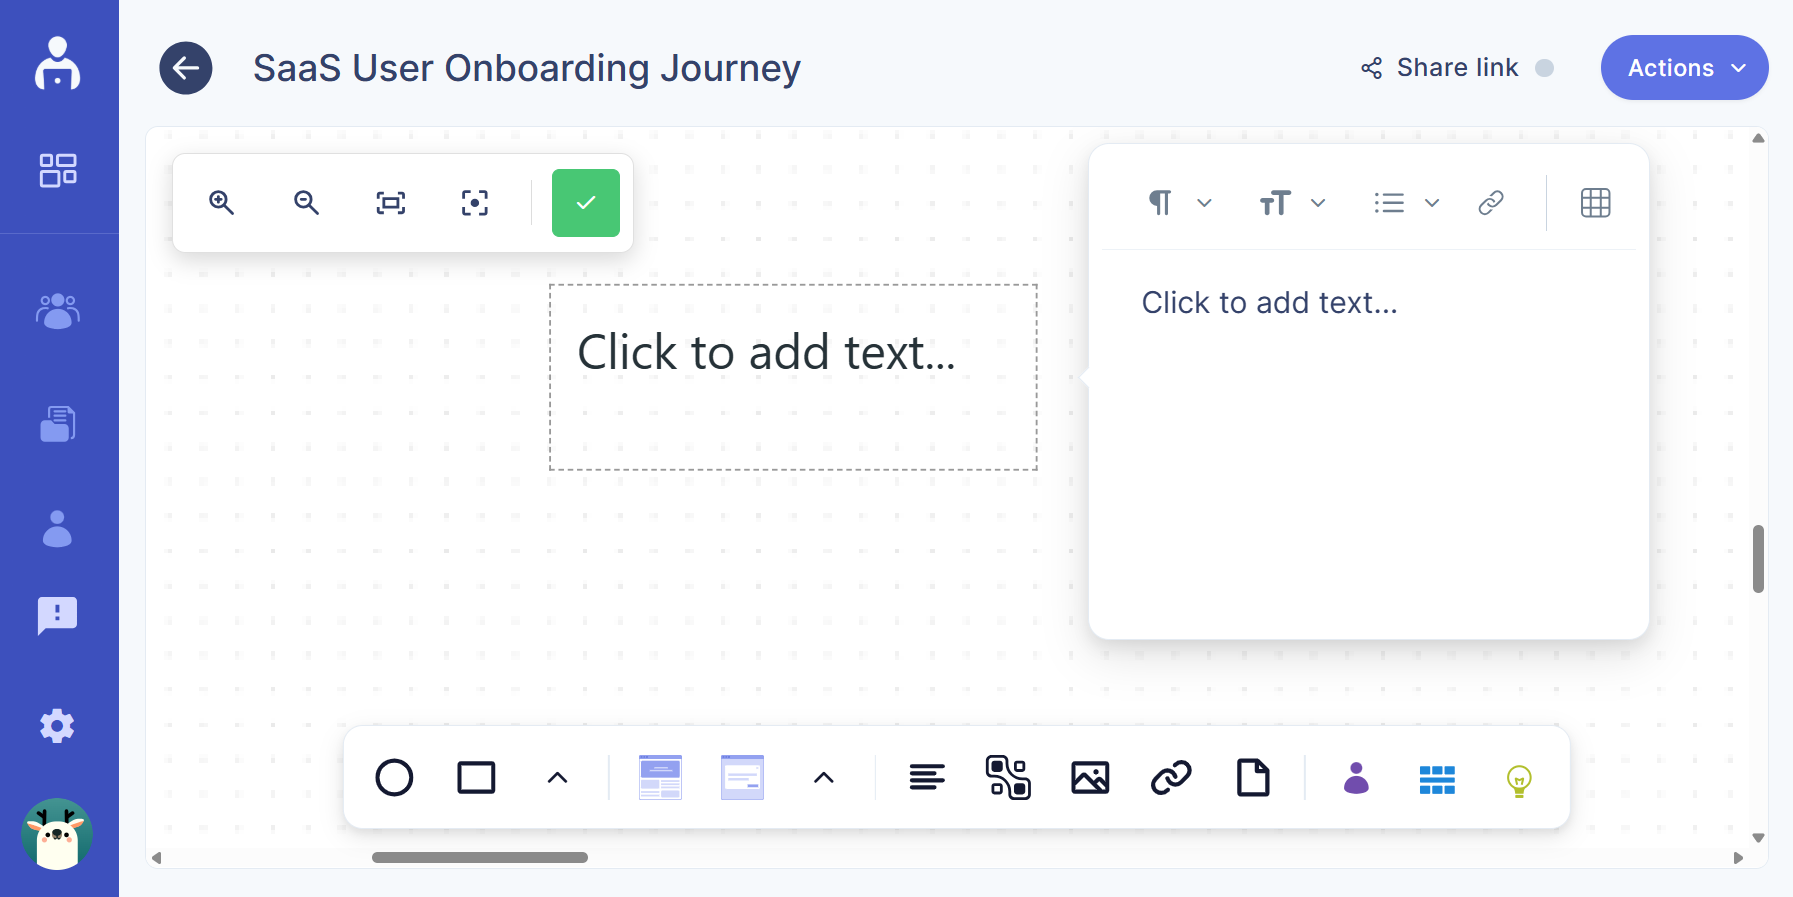
You can move the text node and connect it to other elements in the flow as needed.
Integration with other UserBit tools
Flows can be integrated with other UserBit tools to connect your diagrams with real user context and supporting research. You can attach personas, insights, and other related assets directly to your flow to provide additional clarity and reference.
These integrations help you keep your workflows aligned with user needs and evidence, making flows more informative and actionable. For detailed instructions on how to add and manage integrations, see the full guide on integration