Add personas, insights, and journey maps to your flows
Flows by UserBit lets you enrich your flow diagrams with real context by connecting personas, research repository insights, and journey maps directly on the canvas. This helps teams understand who the flow is for, why decisions exist, and where the flow fits in the broader user journey.
You can add these elements from the toolbar and attach them to any step in your flow.
Add a persona to a flow
Personas help clarify who the flow is designed for.
To add a persona:
- Open your flow in Flows by UserBit and select one of the flows
- From the toolbar at the bottom of the canvas, click the Persona icon
- A dialog box opens showing all available personas
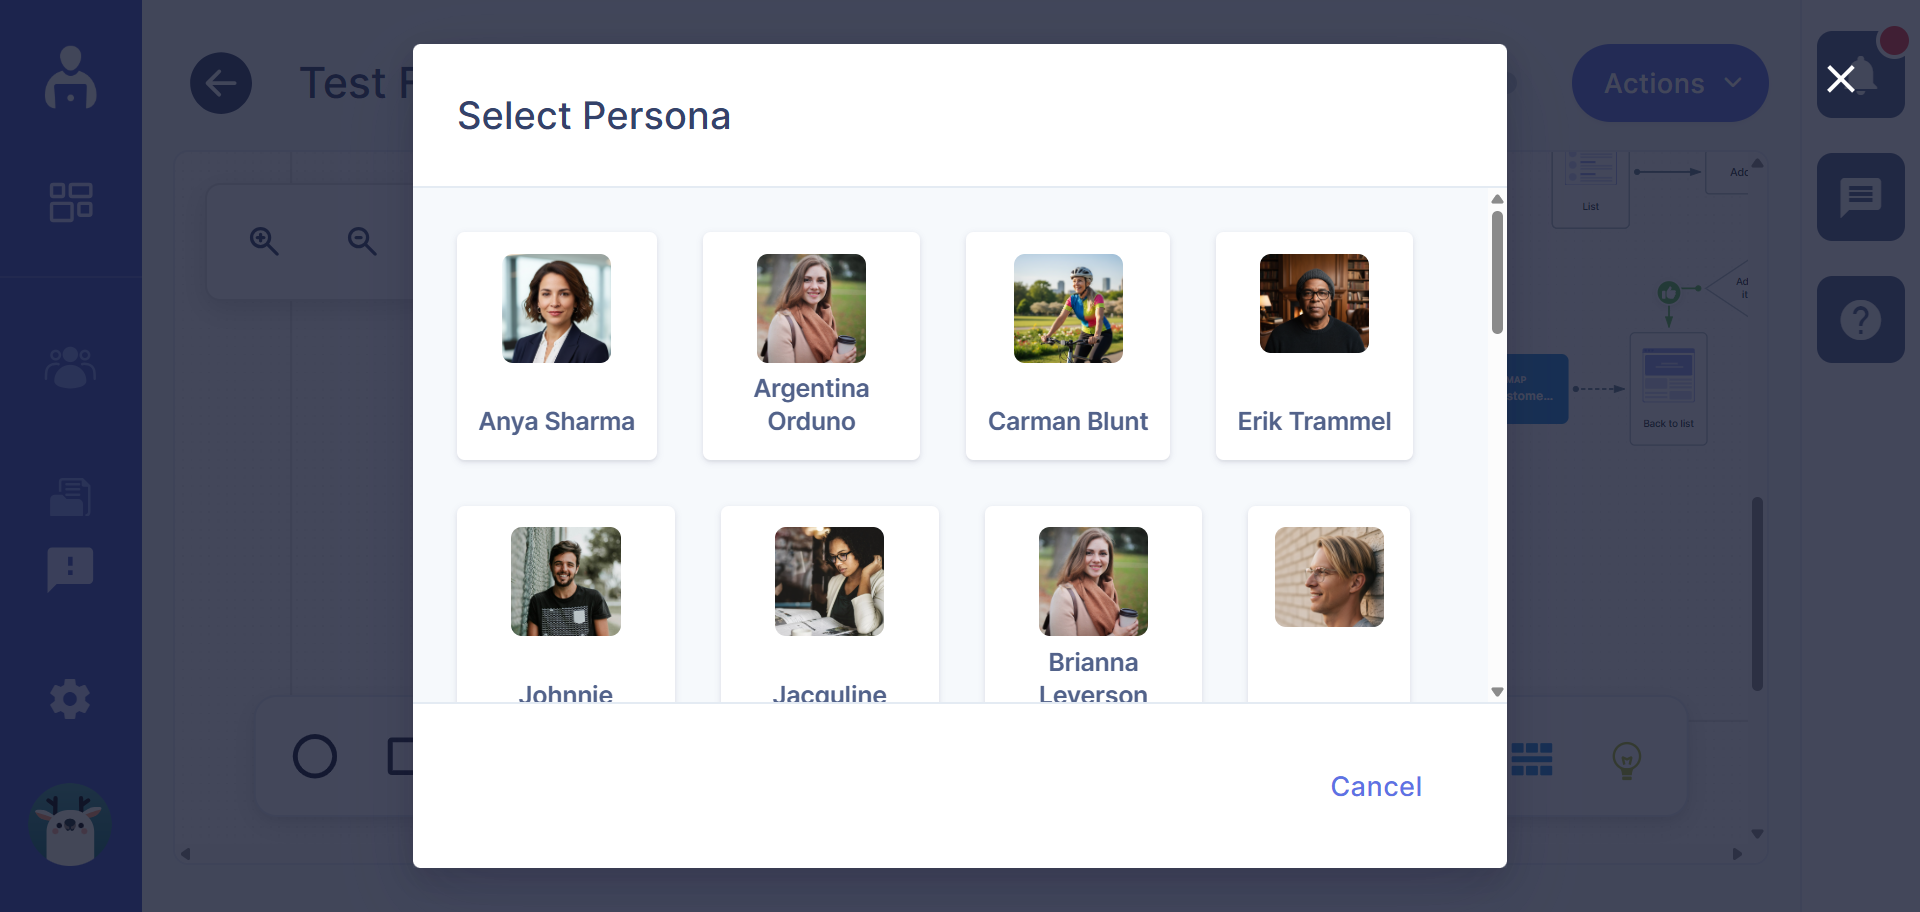
- Select the persona you want to add, and it appears as a persona node on the canvas
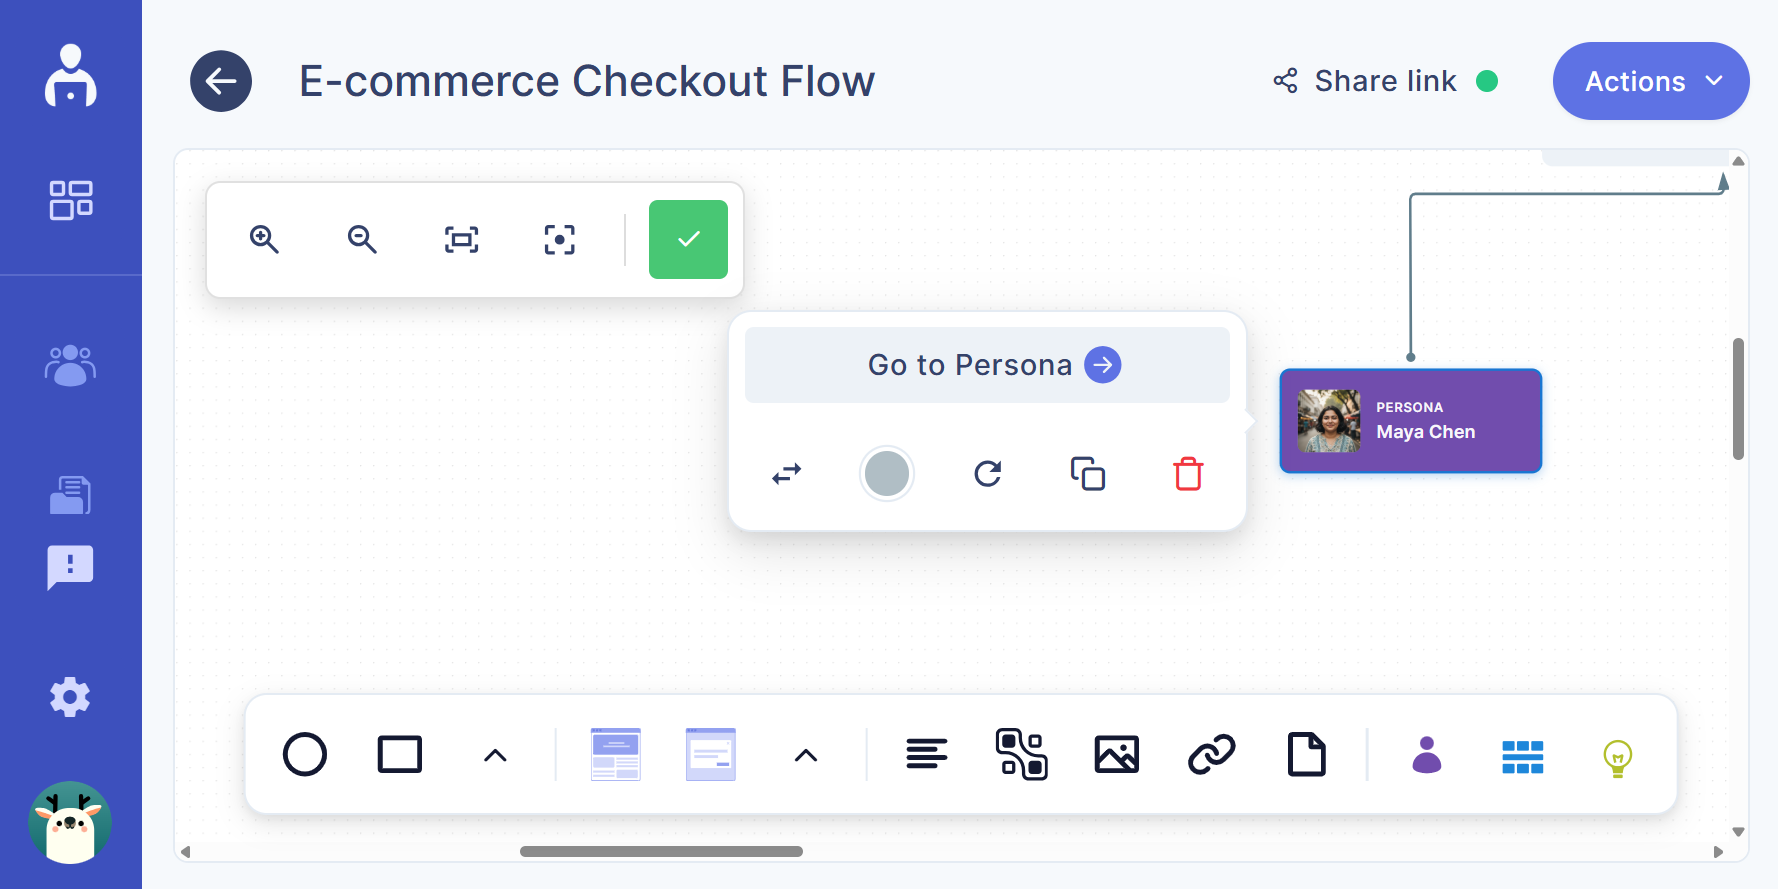
Persona as a flow node
-
Drag the persona node and connect it to any flow node
-
You can attach multiple personas to a single flow
-
You can also connect one persona to multiple flow steps
This helps you show how different user types move through the same experience.
Add insights to a flow
Insights bring research-backed reasoning into your flows.
To add an insight:
- From the toolbar at the bottom of the canvas, click the insight icon
- Choose the insight you want from the dialog box and click the select insight button
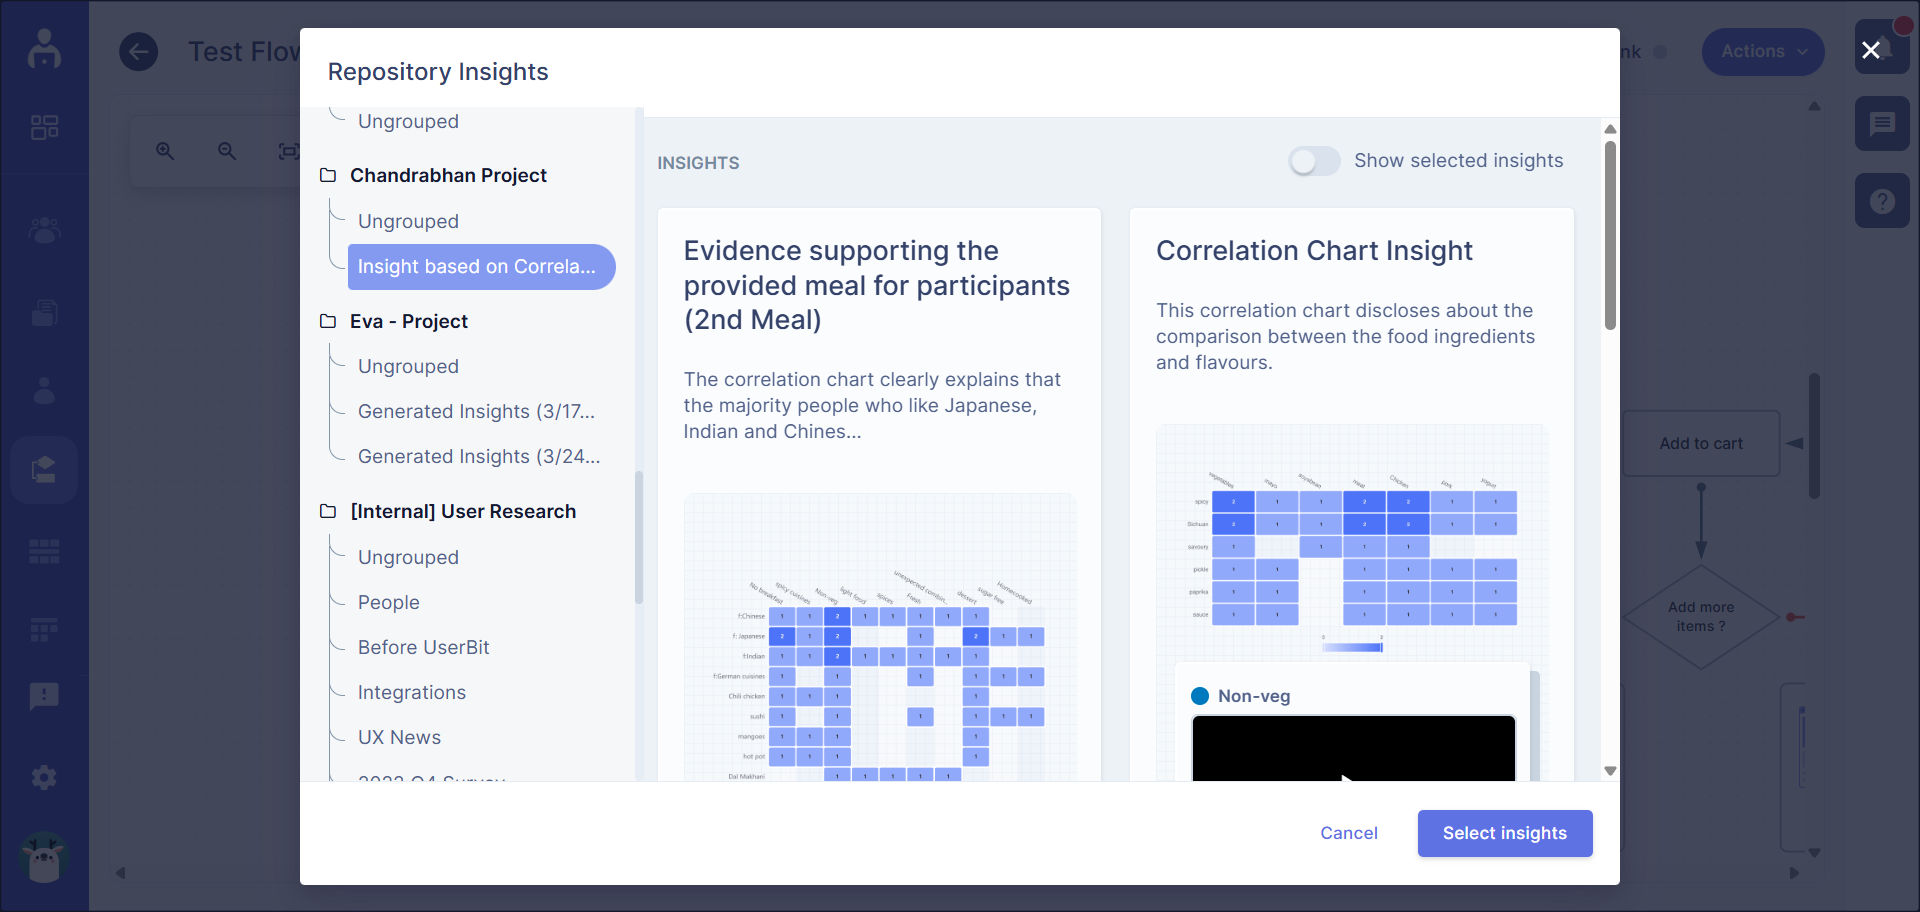
- The insight node appears on the canvas
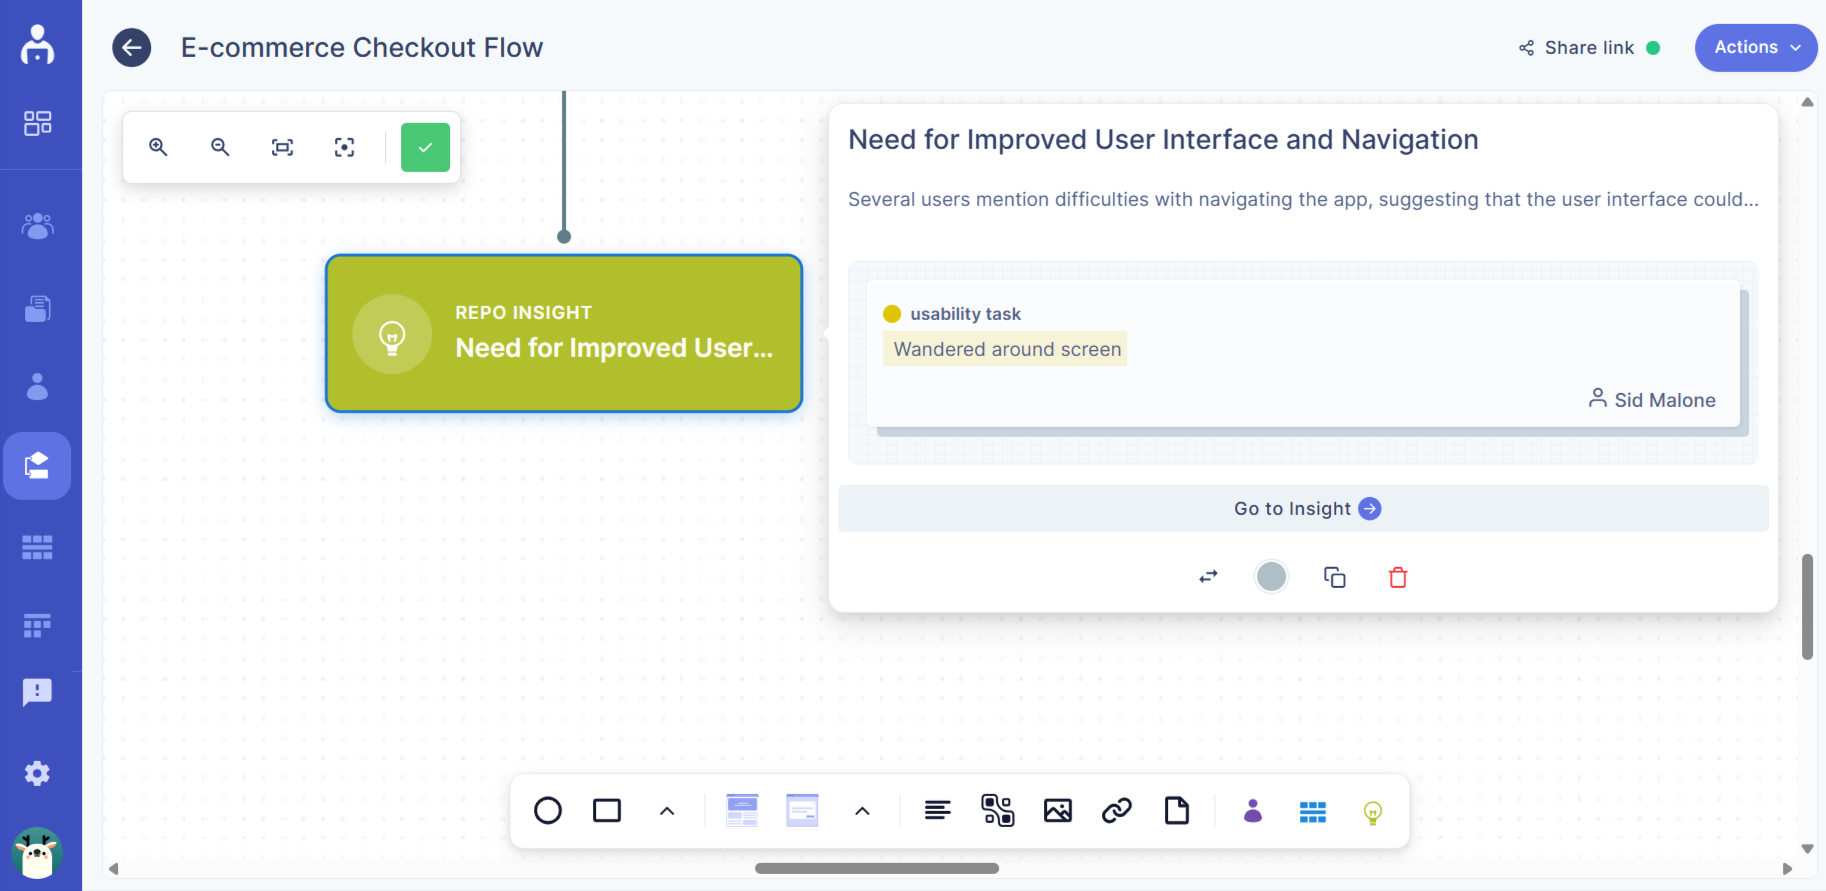
Insights as a flow node
-
Attach insight nodes to relevant flow nodes
-
Use multiple insights to explain decisions, friction points, or validations
-
Keep context visible without switching tools
This makes it easier for teams to understand why a particular flow exists or where it needs improvement.
Add journey maps to a flow
Journey maps help place your flow within the broader user experience.
To add a journey map:
- From the toolbar at the bottom of the canvas, click the journey map icon
- A dialog box opens showing all available journey maps. Select the journey map you want to link
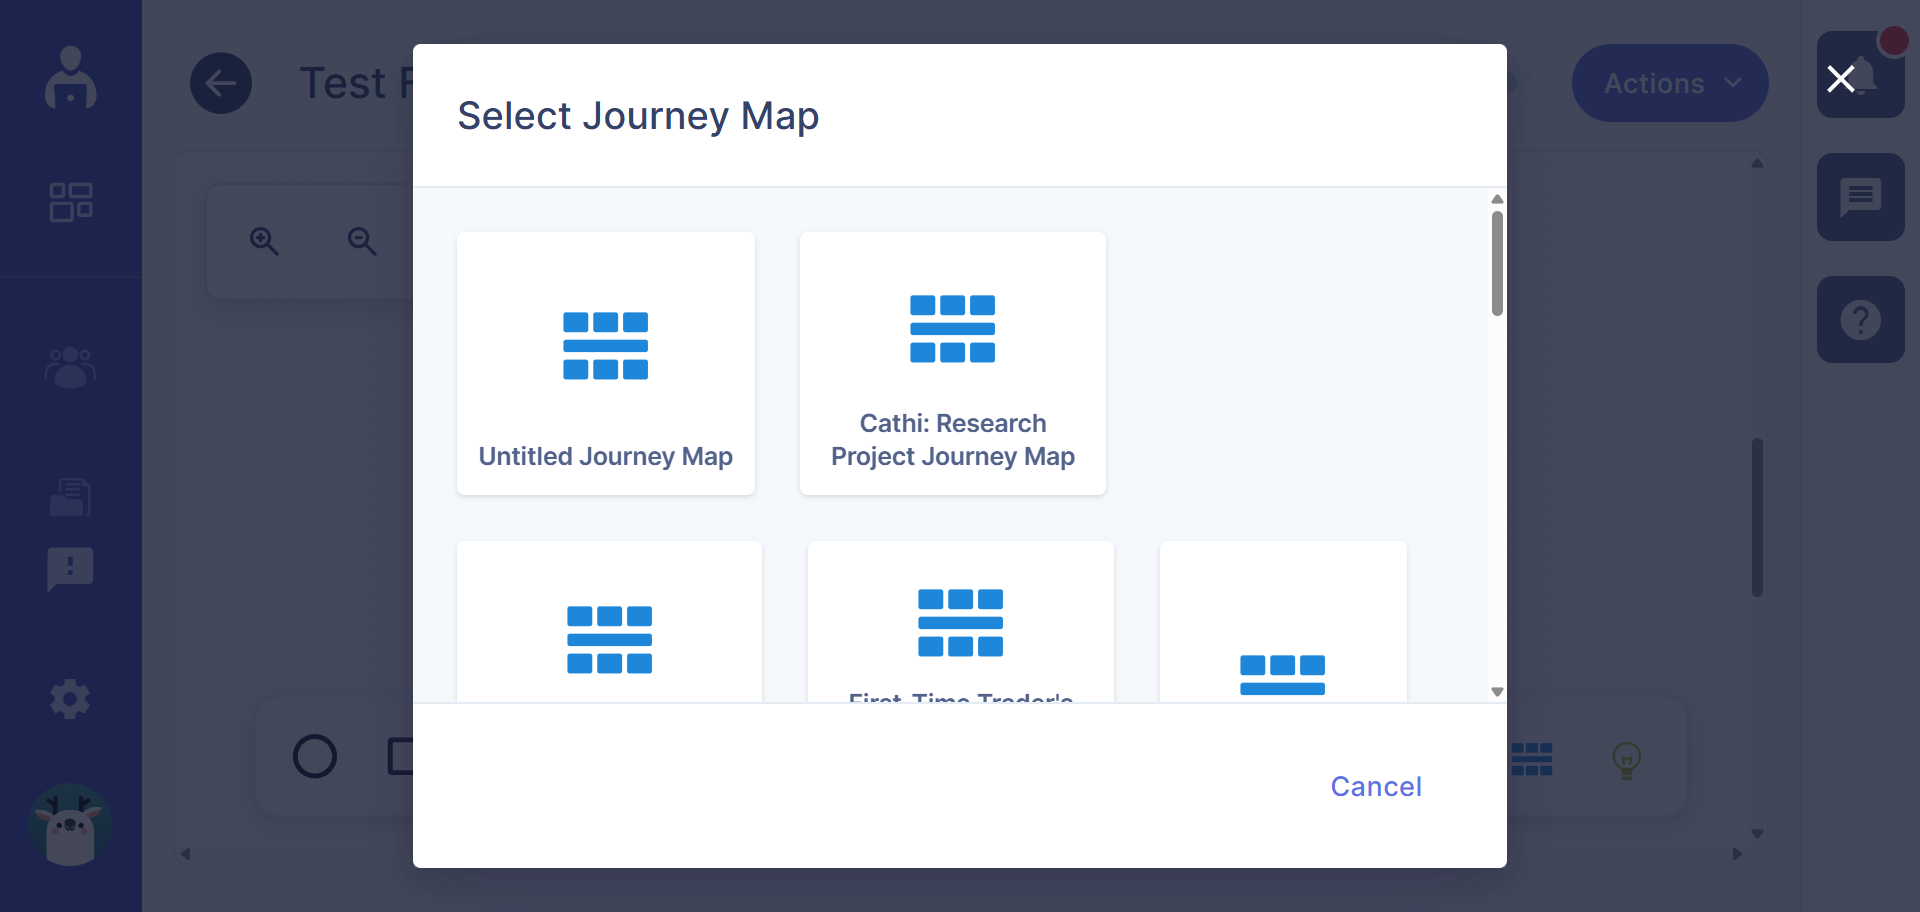
- The journey map node appears on the canvas
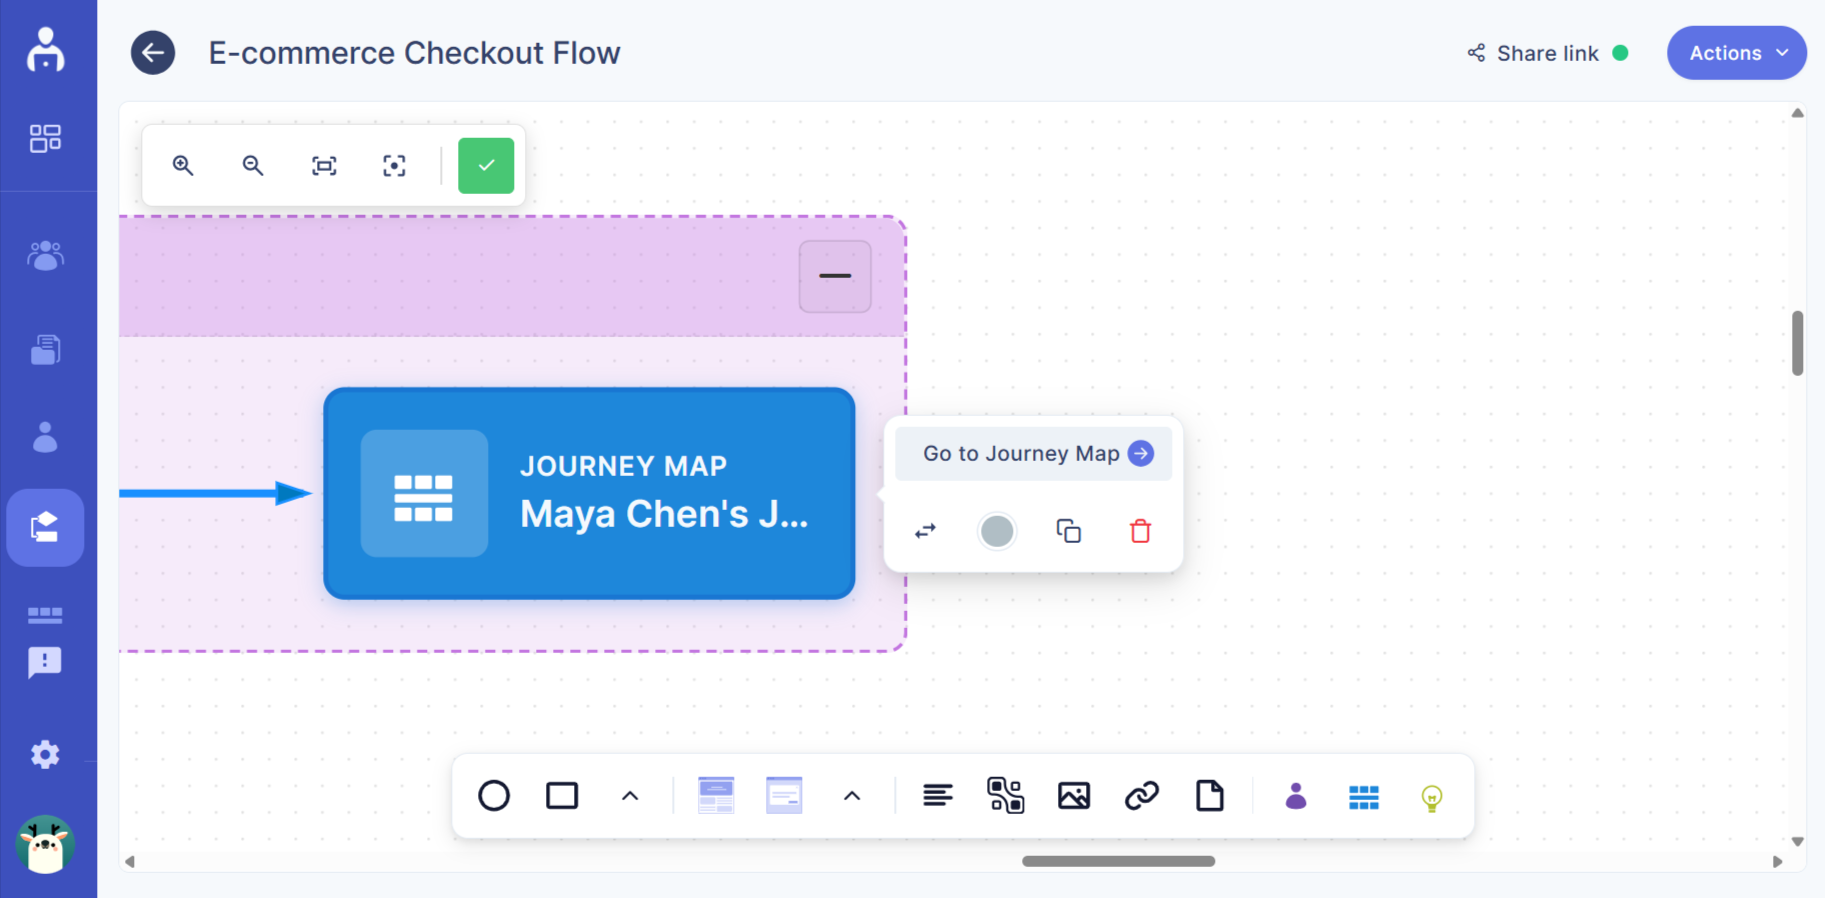
Journey maps as a flow node
-
Connect the journey map node to any part of the flow
-
Show how a specific flow aligns with a larger journey stage
-
Link multiple flow sections to the same journey map if needed
This helps teams see how individual flows fit into the end-to-end experience.
Why connect personas, insights, and journey maps?
By connecting these elements to your flows, you can:
-
Add real user context to design decisions
-
Align flows with research and journeys
-
Reduce assumptions during reviews
-
Create a single source of truth for experience logic
Flows become more than diagrams — they become context-rich design artifacts your team can trust.